
One of my previous posts introduced you to NPCI and the products and services offered by them. Today we concentrate more on UPI BHIM mobile app and see how we can use it for our daily transactions. The transactions can be money transfer from one party to another or a payment at merchant point of sale terminals.
The older methods
For money transfer, we have been using the NEFT/RTGS and the IMPS services for quite some time. These services require that the remitter knows the beneficiary details. It is quite difficult to remember these details. The remitter has to feed a 15-16 digit account number, IFSC code, Bank Branch details and the correct name of the account holder. Some banks also have set a period of time before which the beneficiary is not activated. So in case of emergency, immediate transfer to a new beneficiary is not possible.
For online payments or at a brick and mortar retails store, we need to either present a card to the merchant or feed in the card or account details on the website. There are chances of misuse of the card details if proper security measures were not in place. The process is also tedious due to multiple levels of authentication.
With the advent of UPI and BHIM, all this has changed. Online money transfer and payments have never been simpler.
What is UPI
I have explained about UPI in my previous post. But in short, UPI(Unified Payment Interface) helps the financial organisations and clearences houses to use a simpler method for identifying remitter and payee. All it requires is for you to login to BHIM APP create a VPA(virtual Payment Address). This VPA is unique to a user and is in format XXXXX@UPI. Eg. if your phone number linked to a bank account which you choose to register with BHIM is 1234567890, then the VPA can be 1234567890@UPI. If you choose to set it on the basis of name, it can be yourname@UPI or your.name@UPI etc. It’s your choice on the basis of availability.
Note that the prerequisites for using BHIM app are a bank account with phone number linked.
Getting Started
The first thing you will need to do is download the BHIM app. Make sure that you download it from google play store or apple app store. Do not use any other app which you may get via any file sharing site. It could be fake. The link are here for Google Play store and here for Apple itunes store.
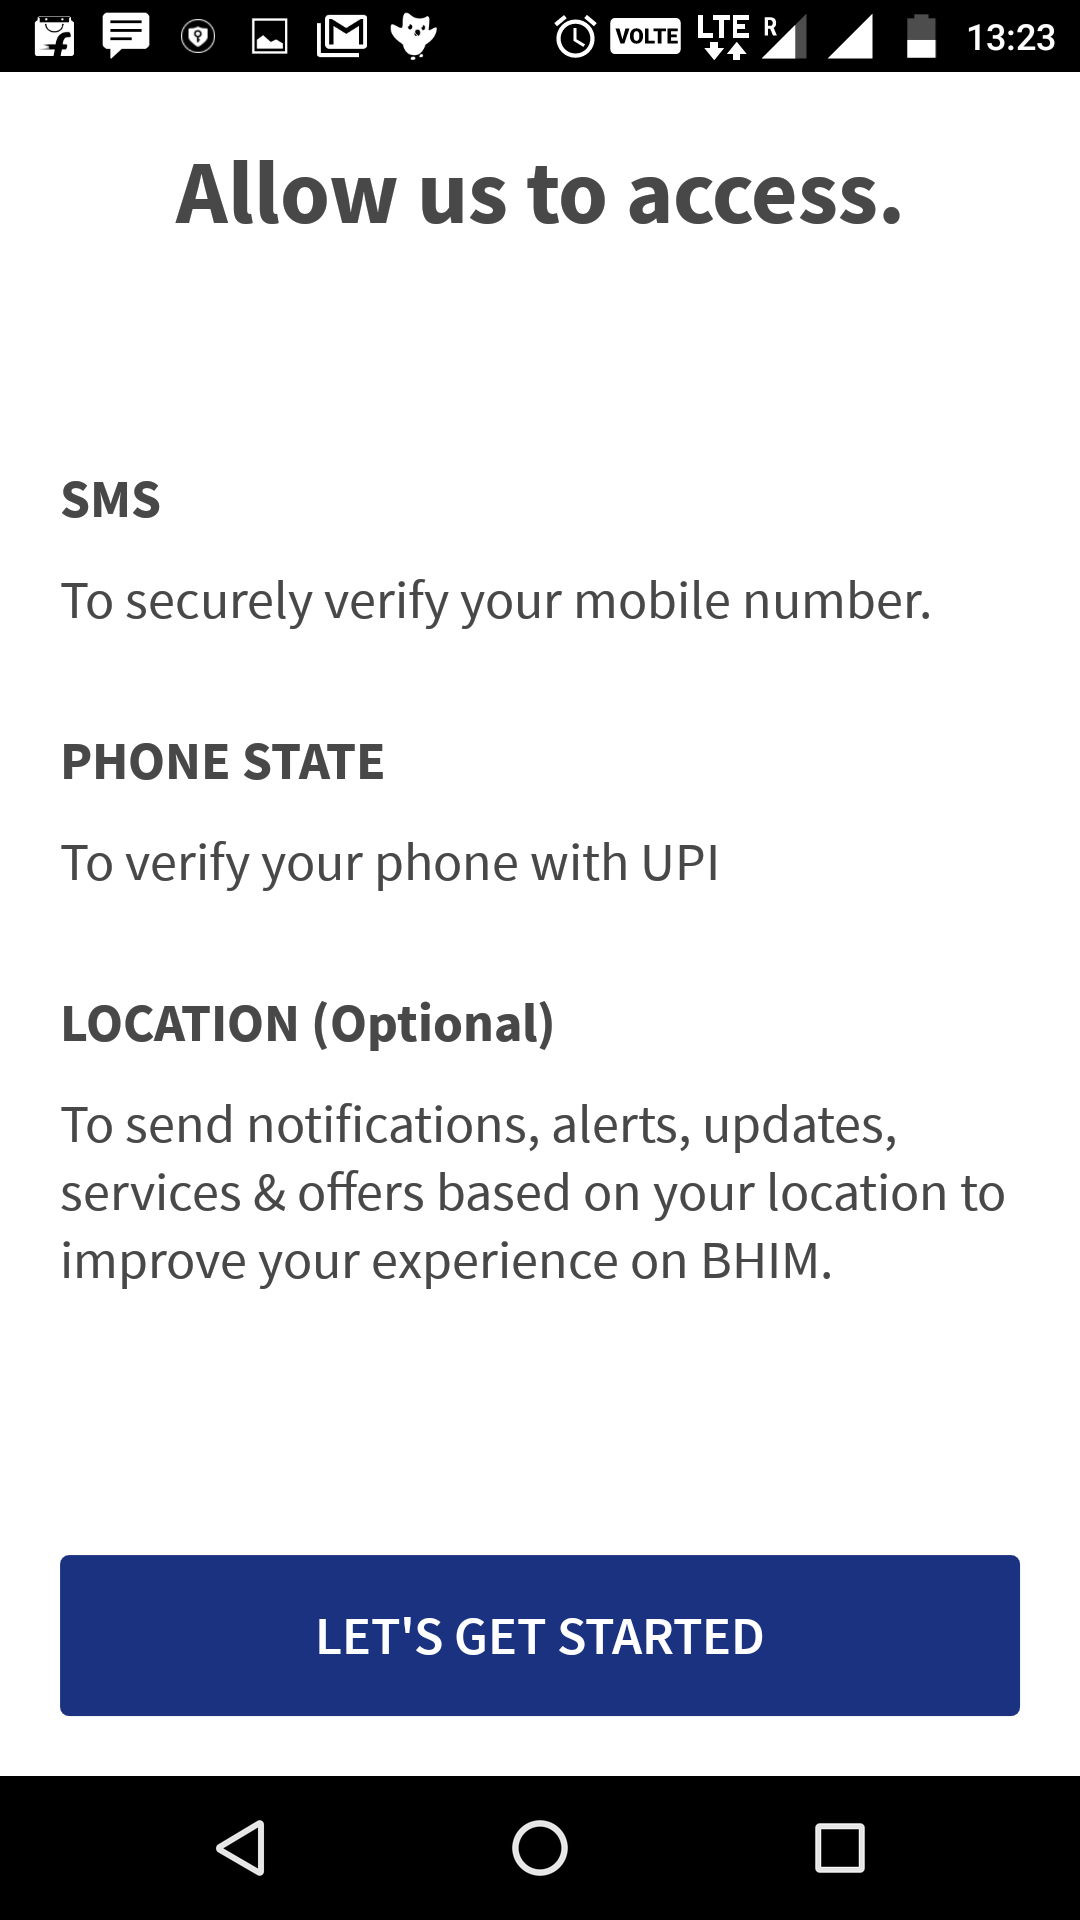
Once downloaded, launch the app using the app icon in you app drawer and follow the below slide-show in sequence to set up BHIM.
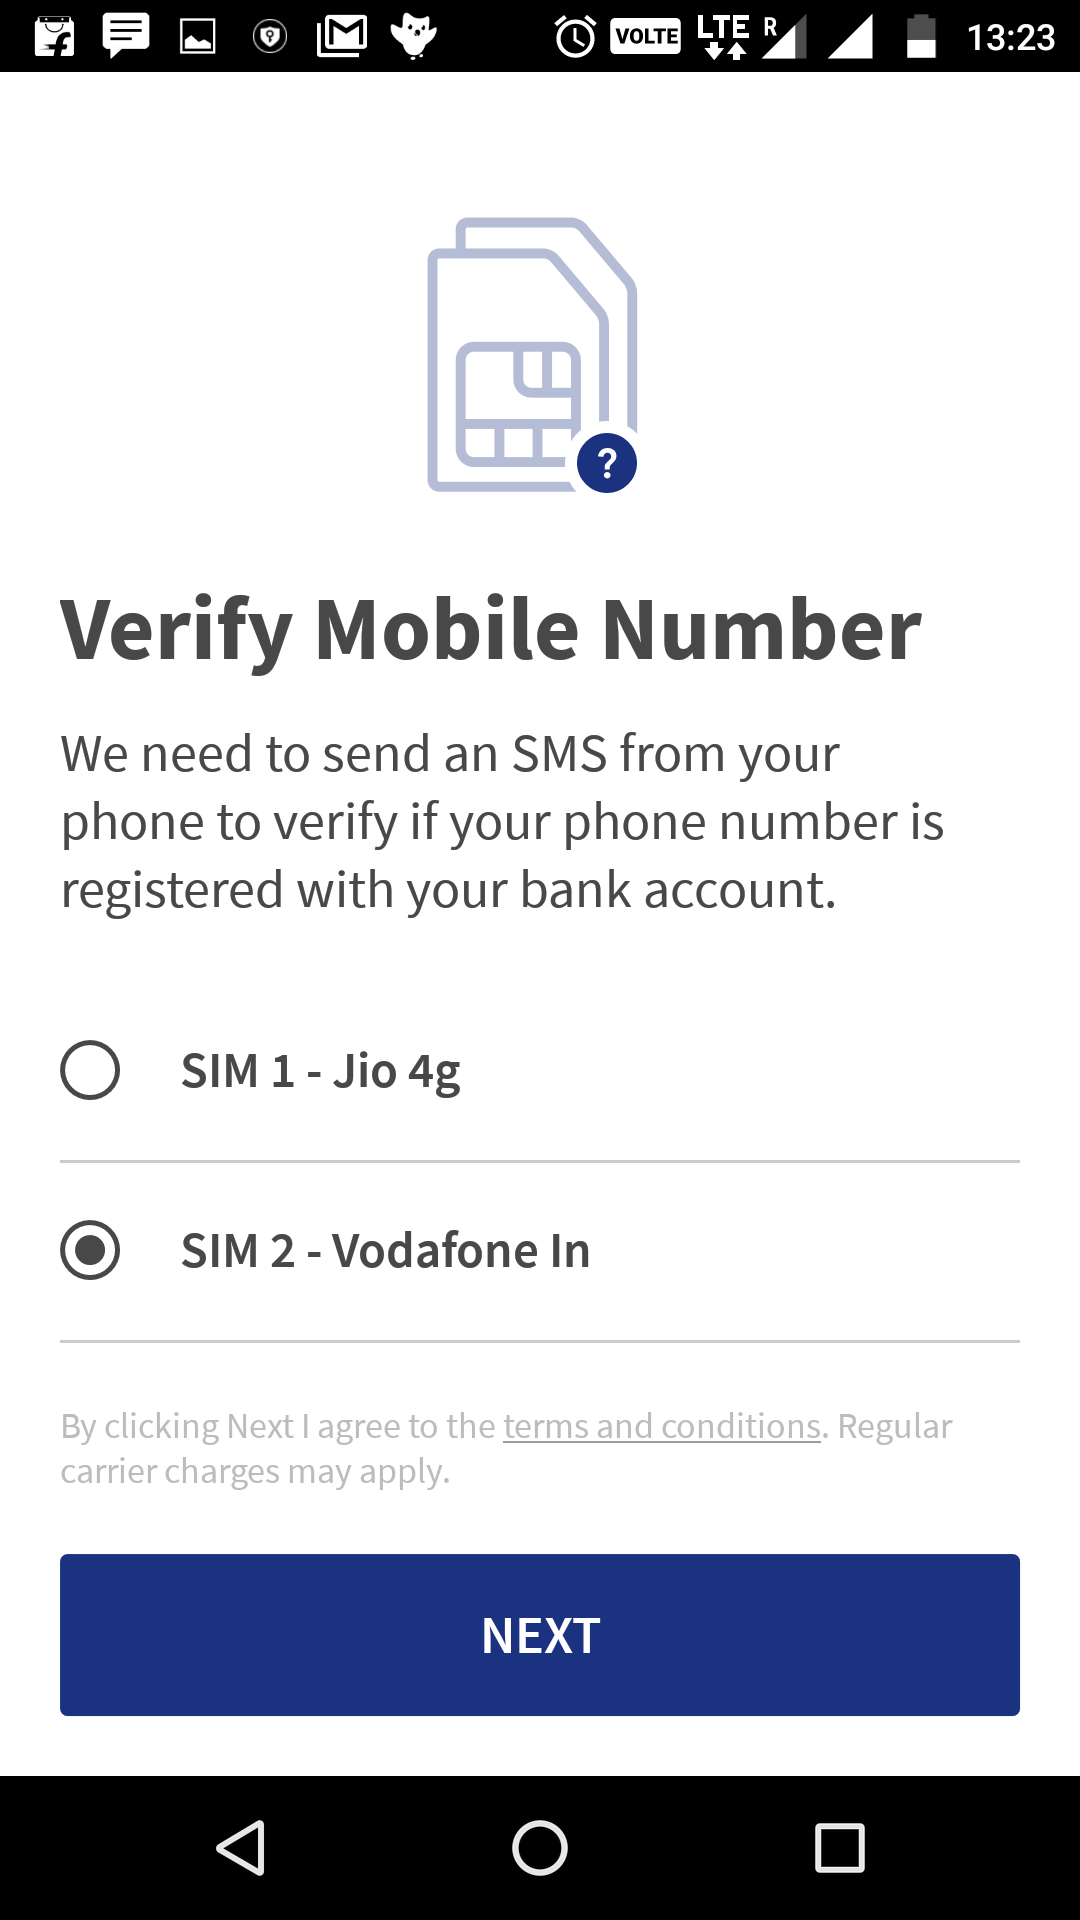
- First you will need to verify your mobile number. For a multi-sim device, select the sim which you wish to register with BHIM. This should be the phone number which is linked to you account.
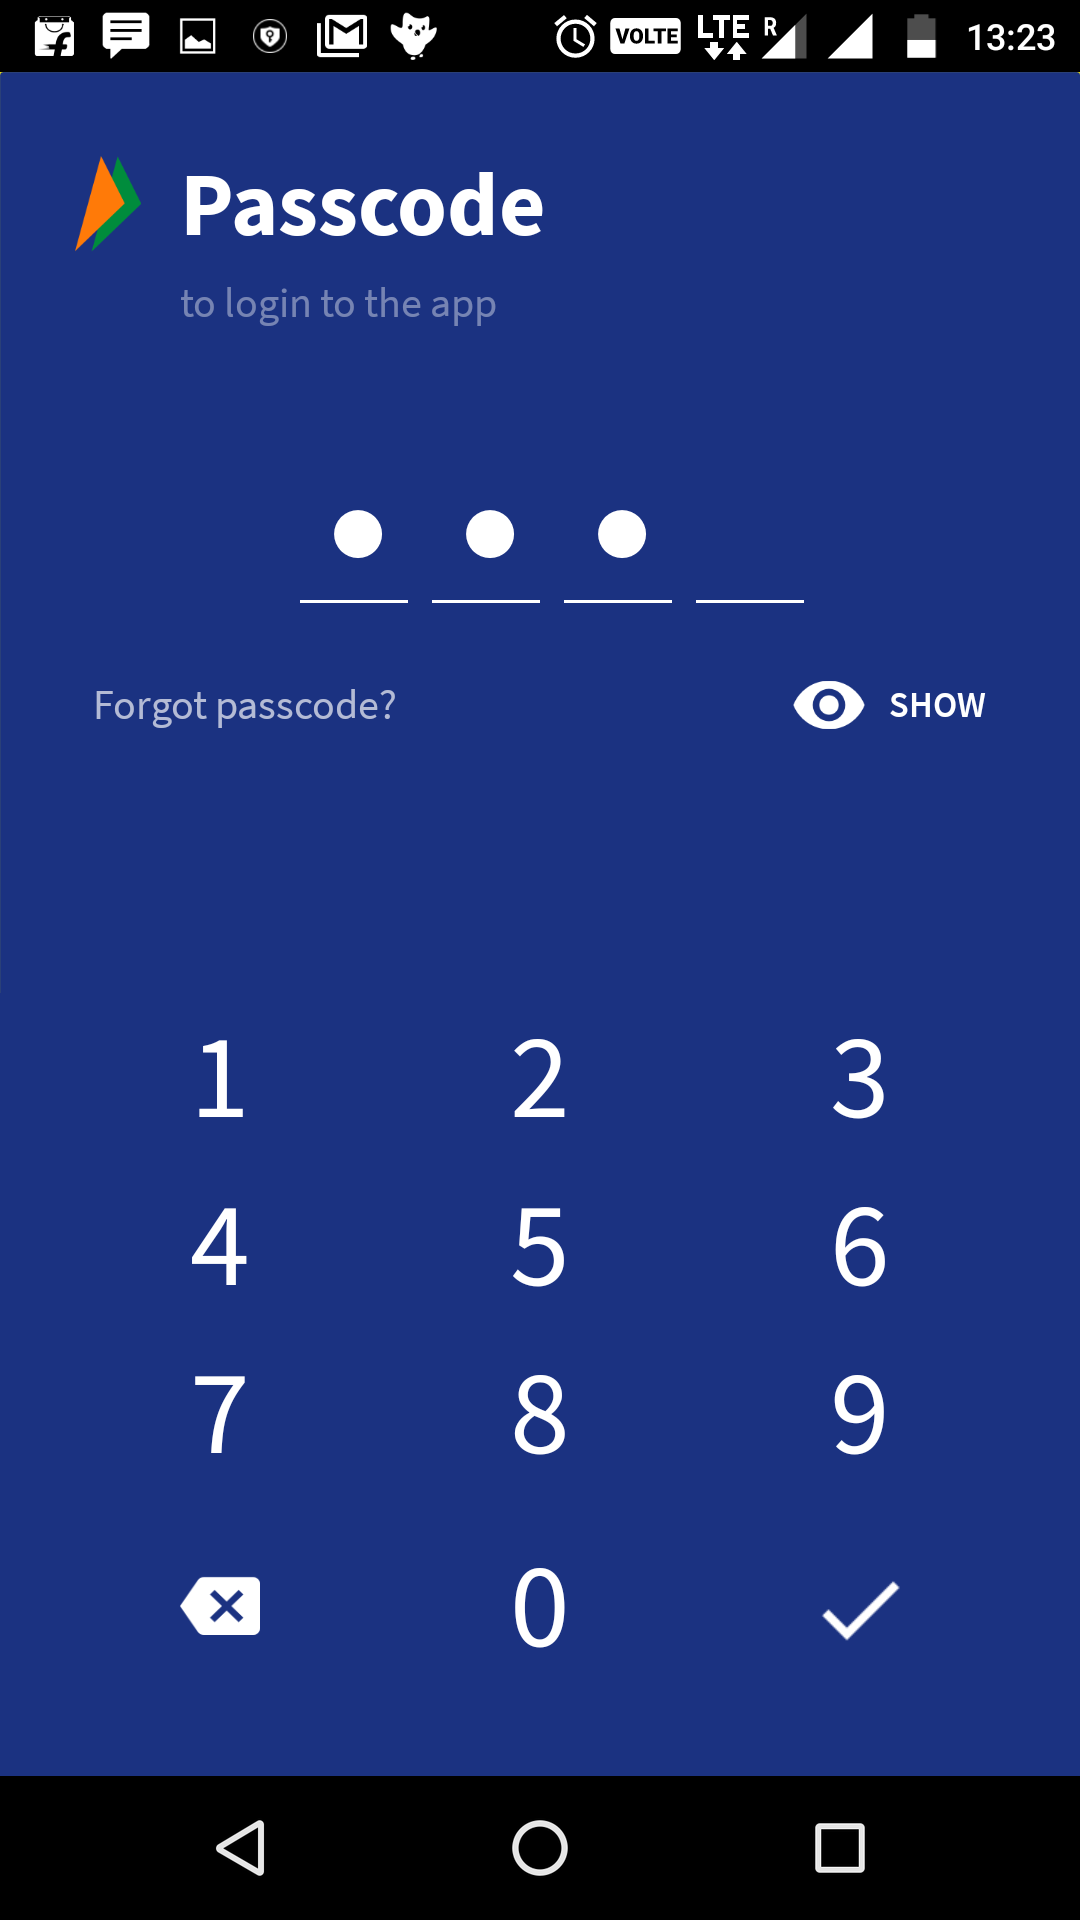
- Setup a 4 digit pin to access the app. Note that this app doesn’t work on rooted devices.
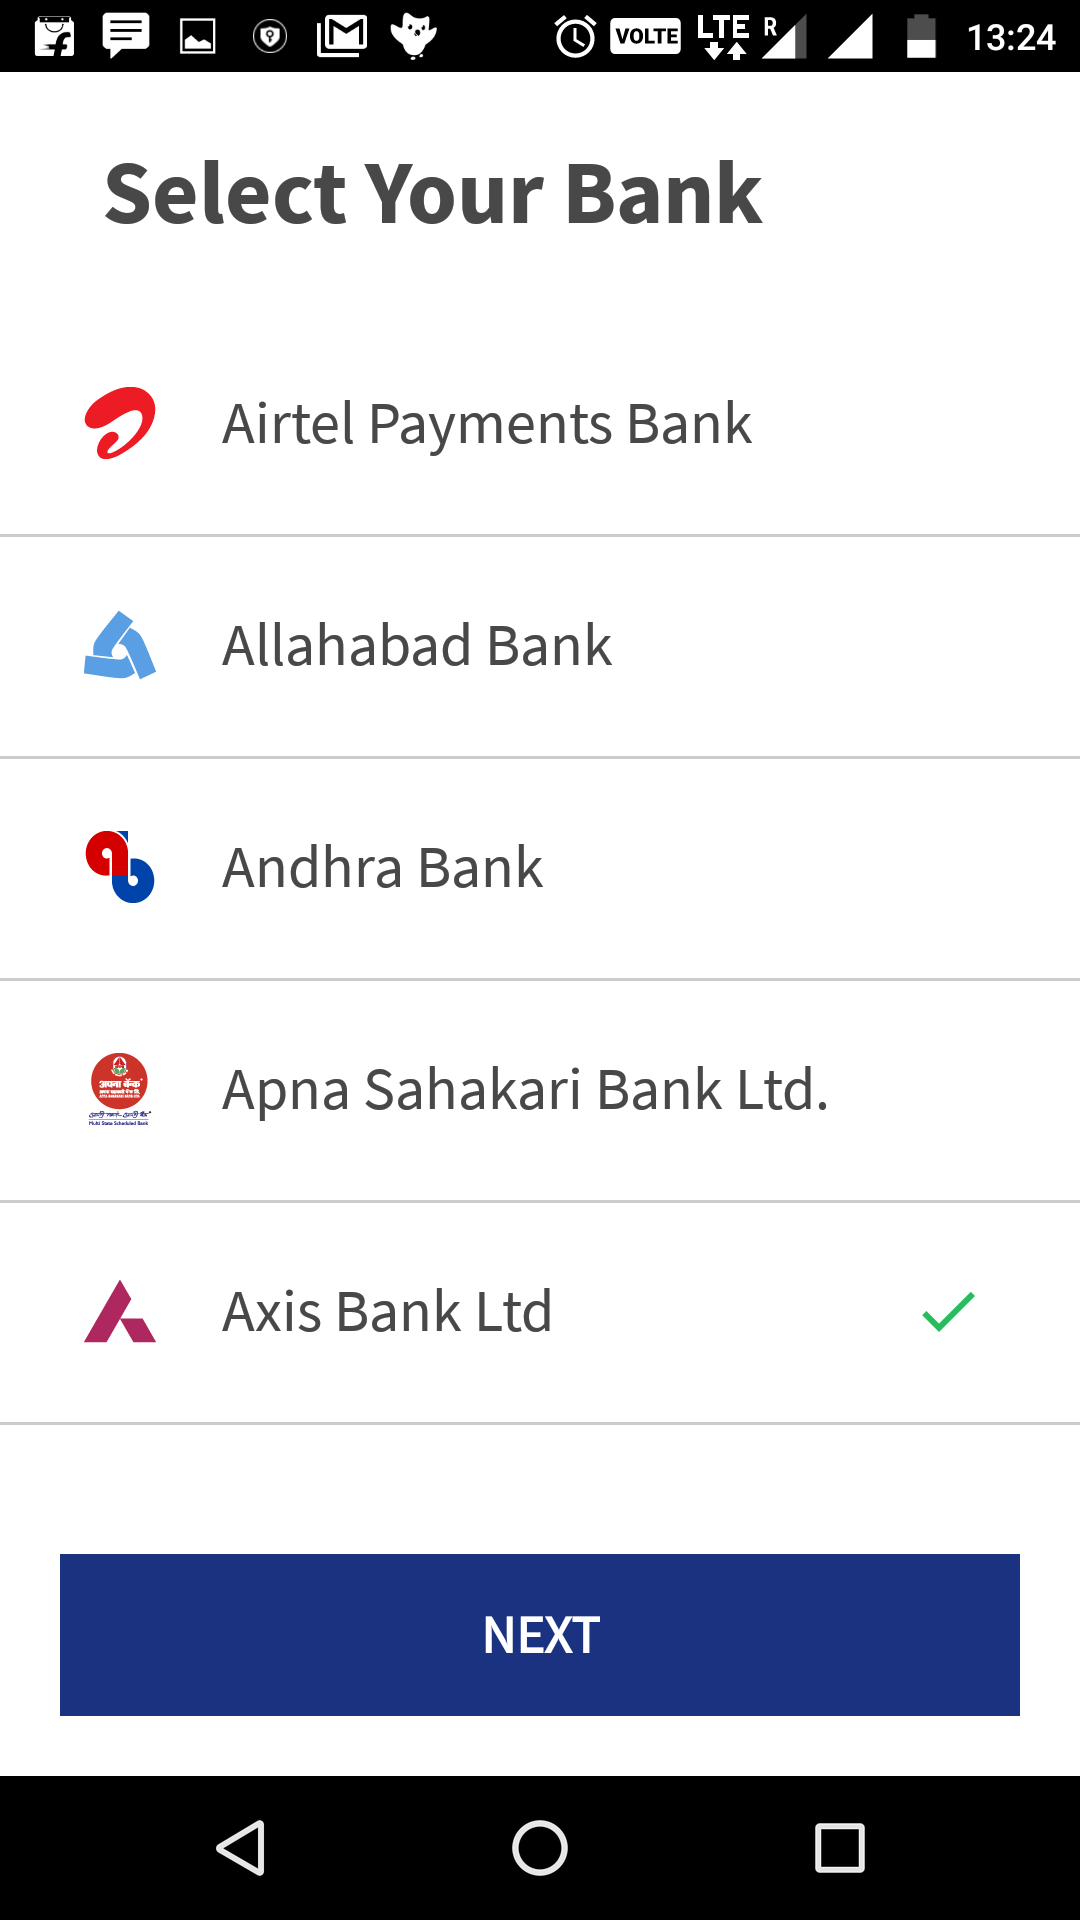
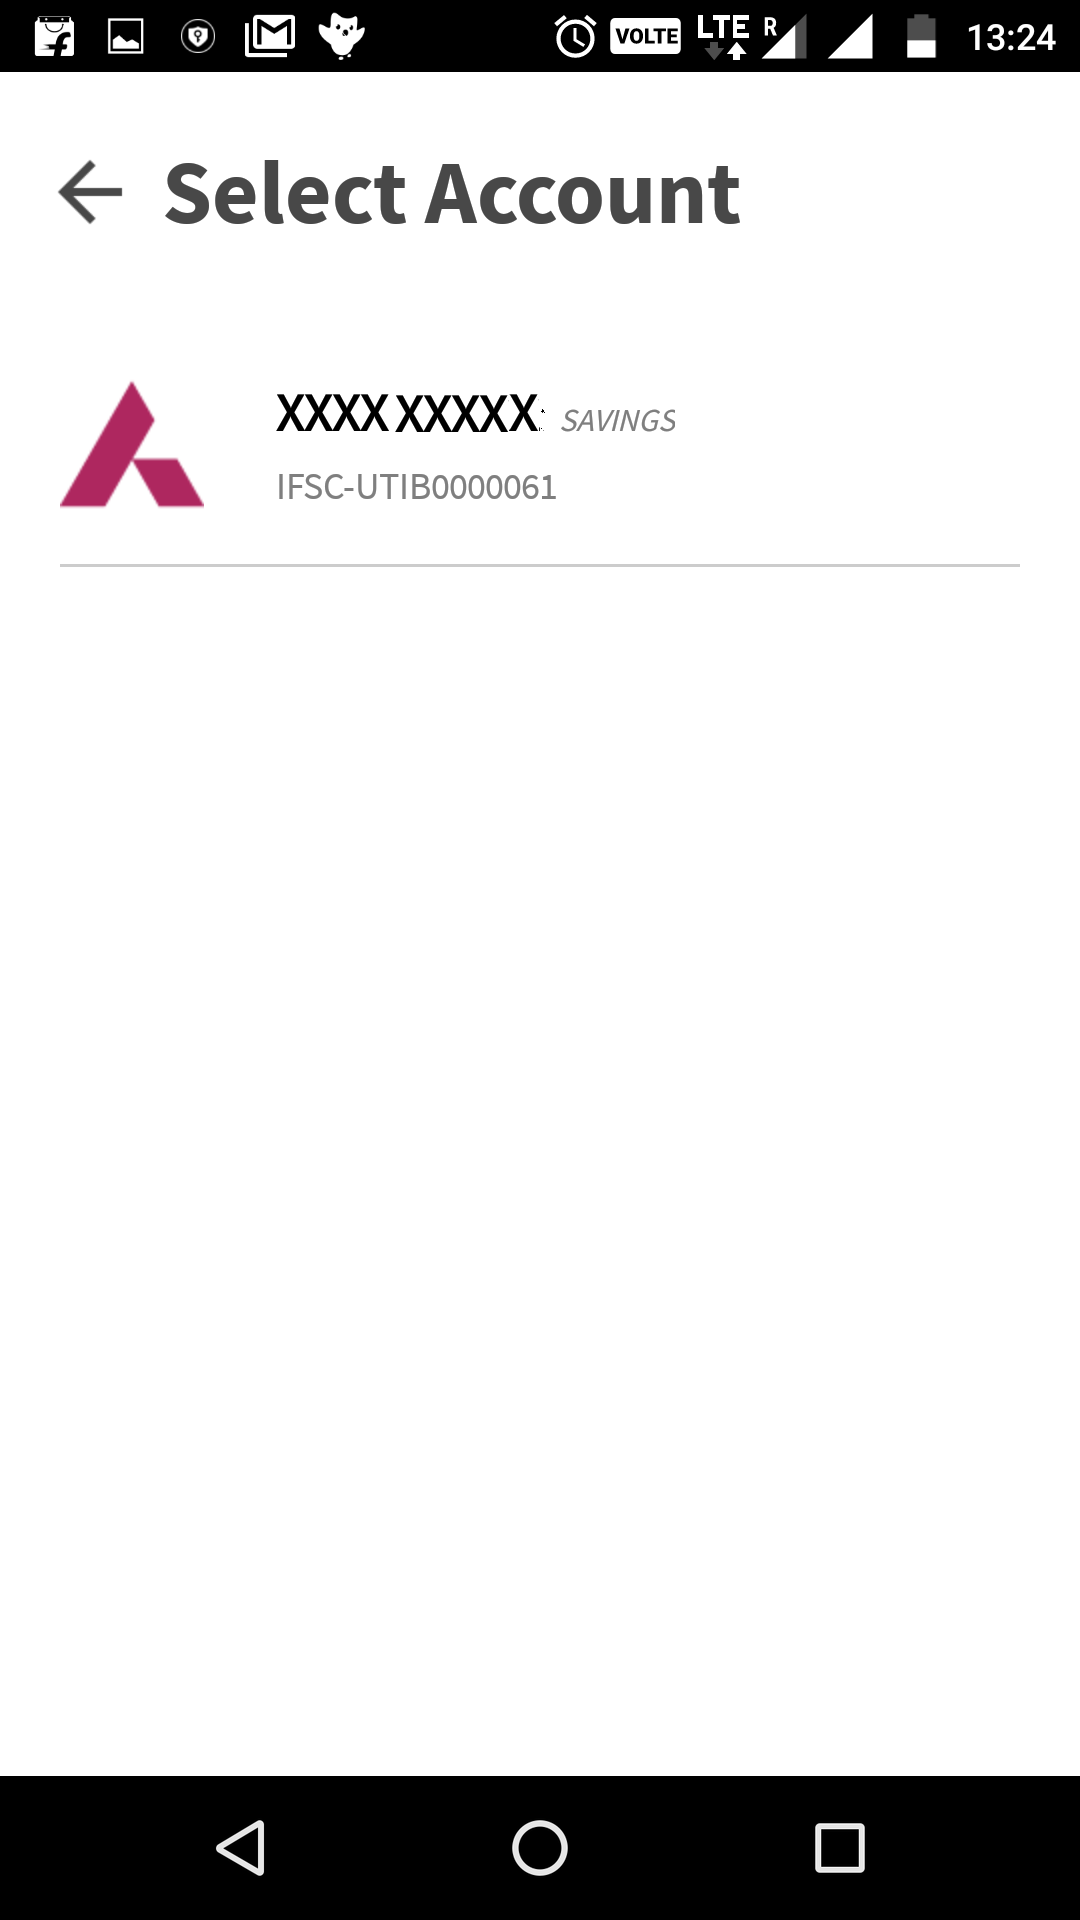
- Select the bank which you want to link. The app will display the accounts registered with the bank and linked to the phone number. Select the account you wish to link with BHIM.
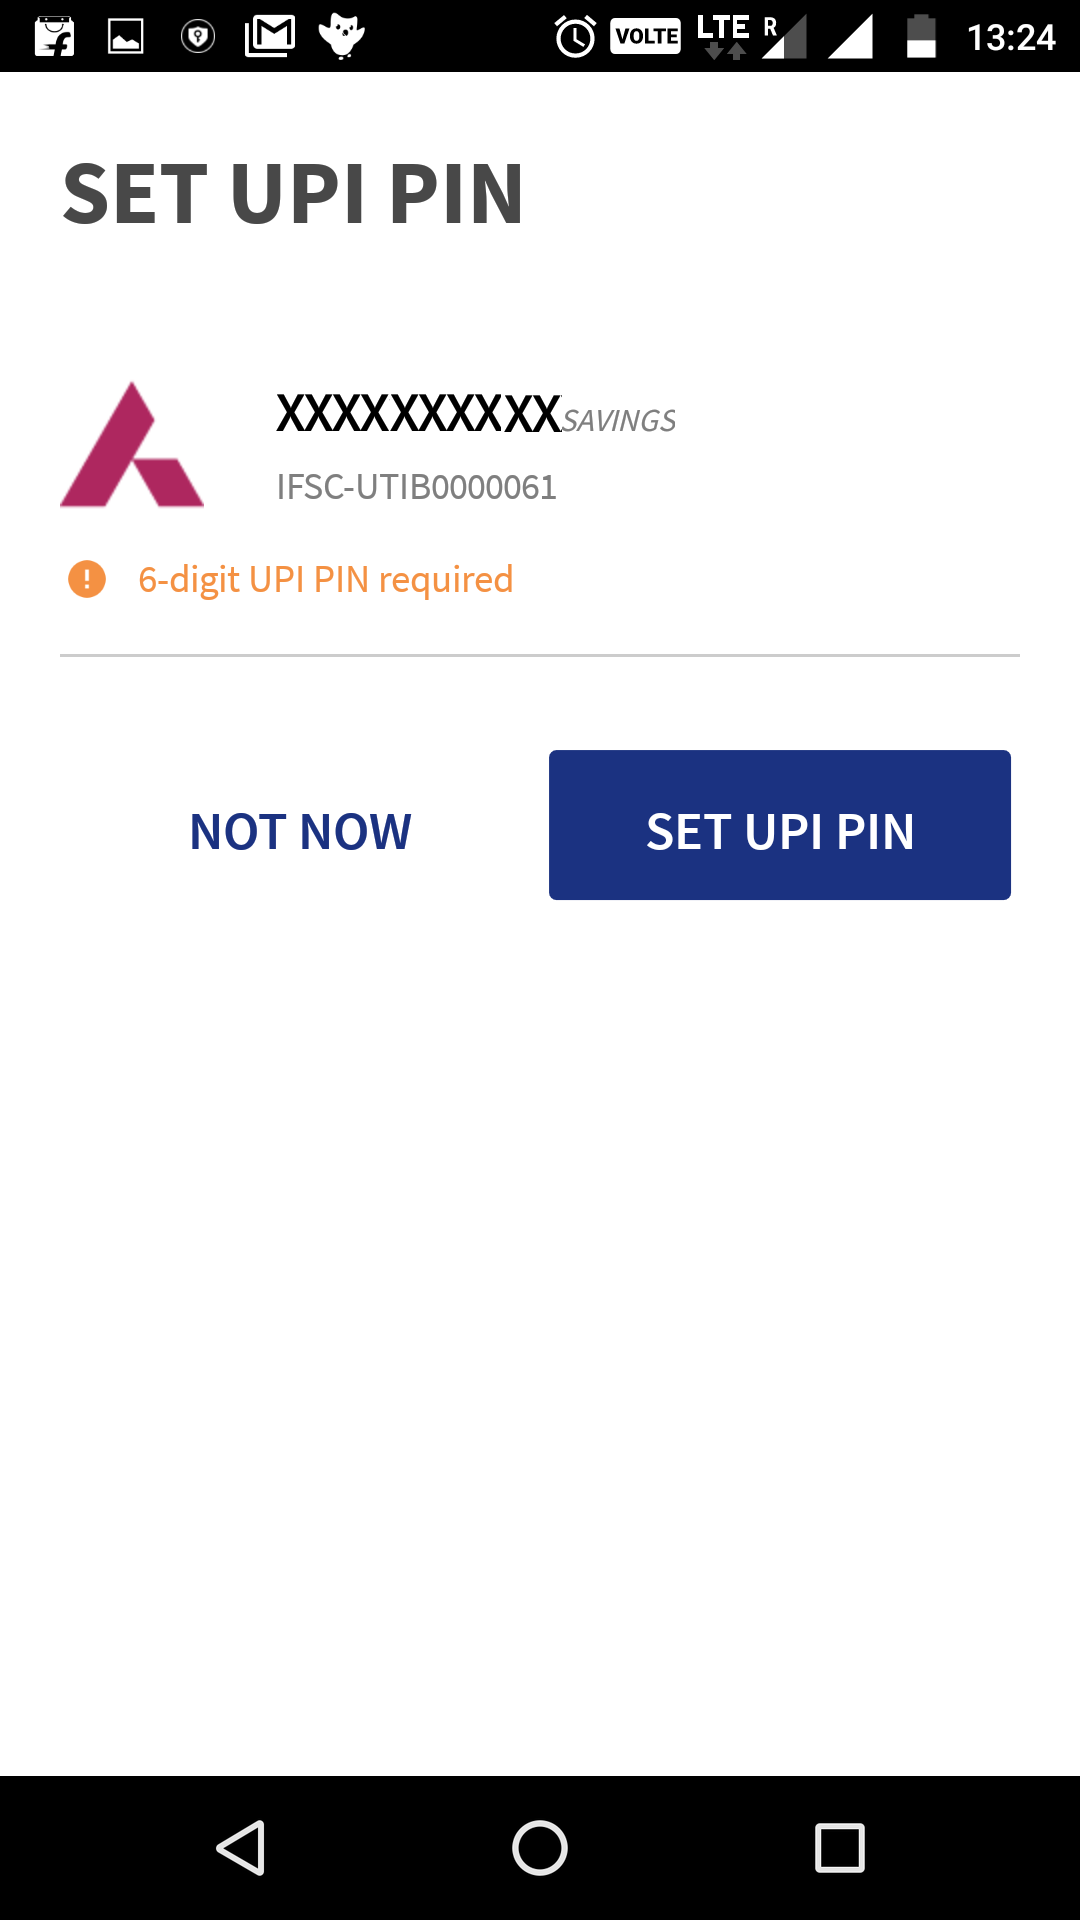
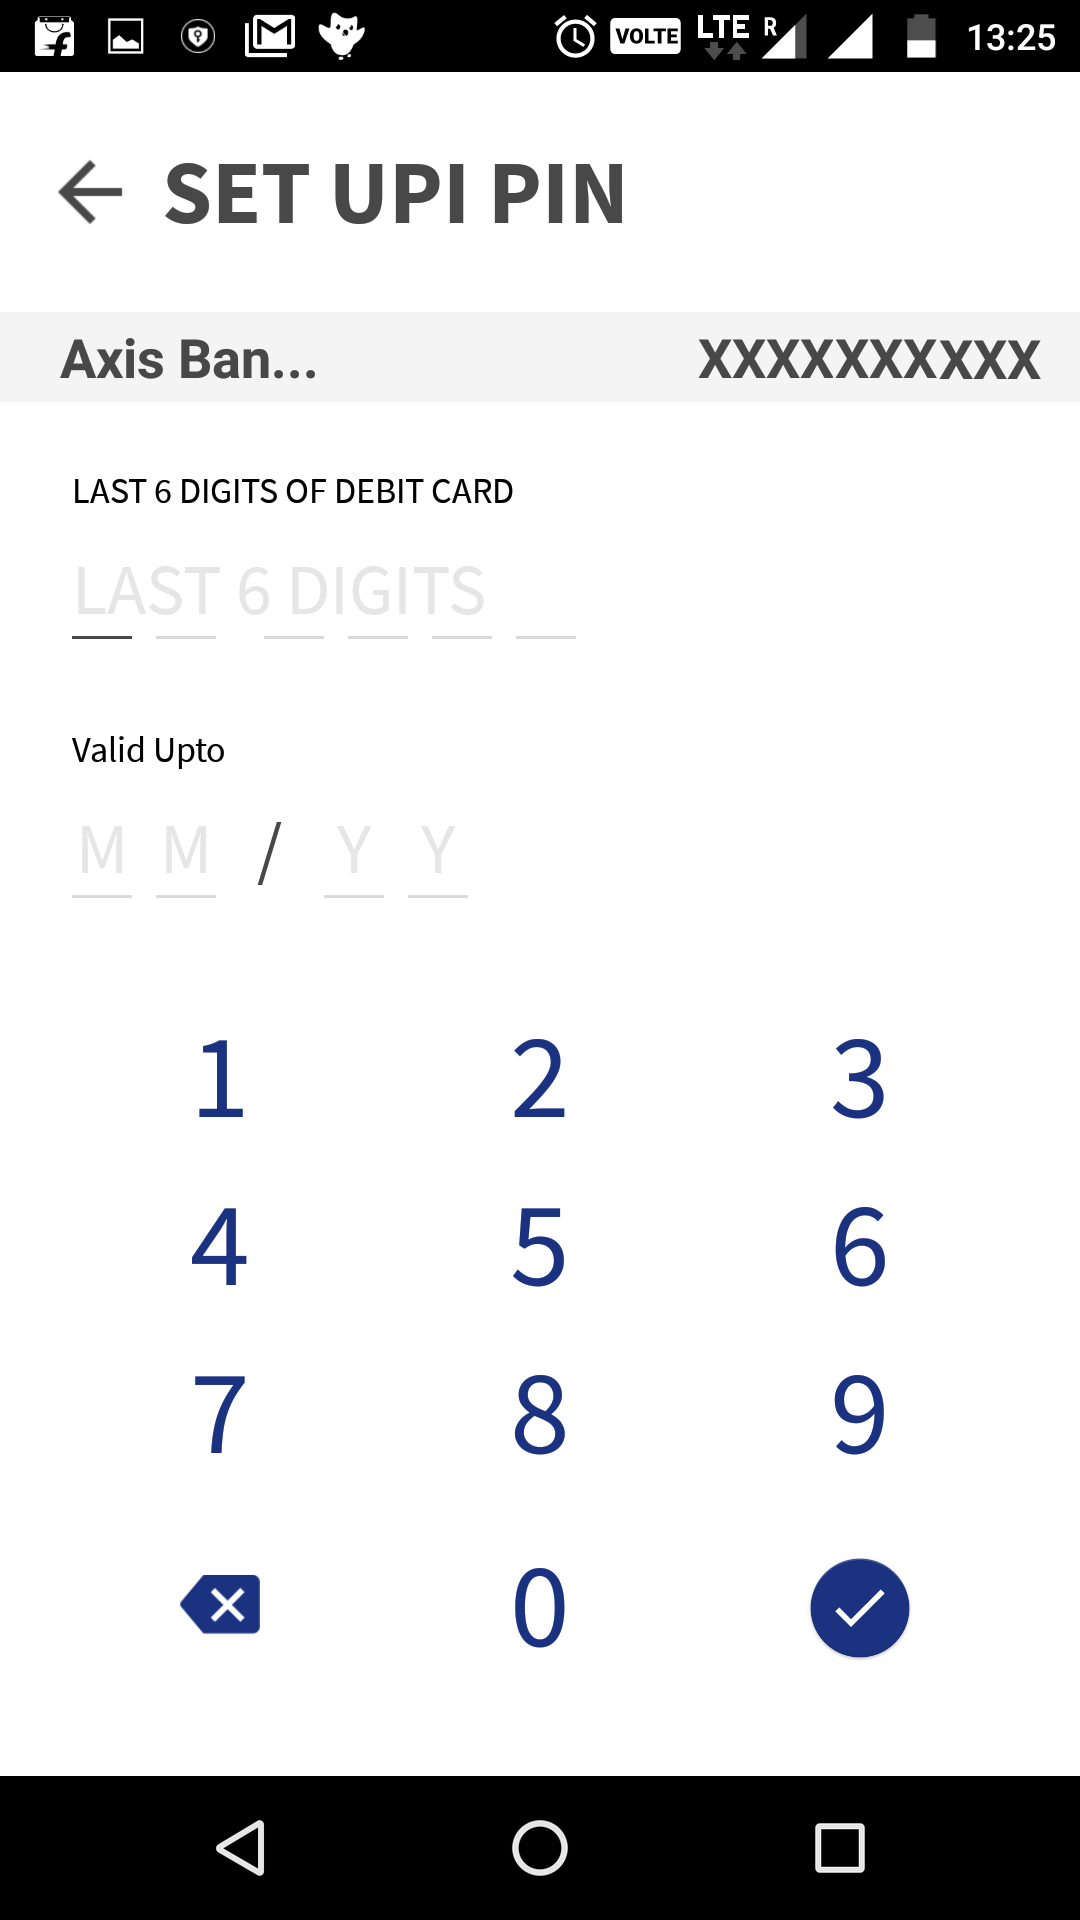
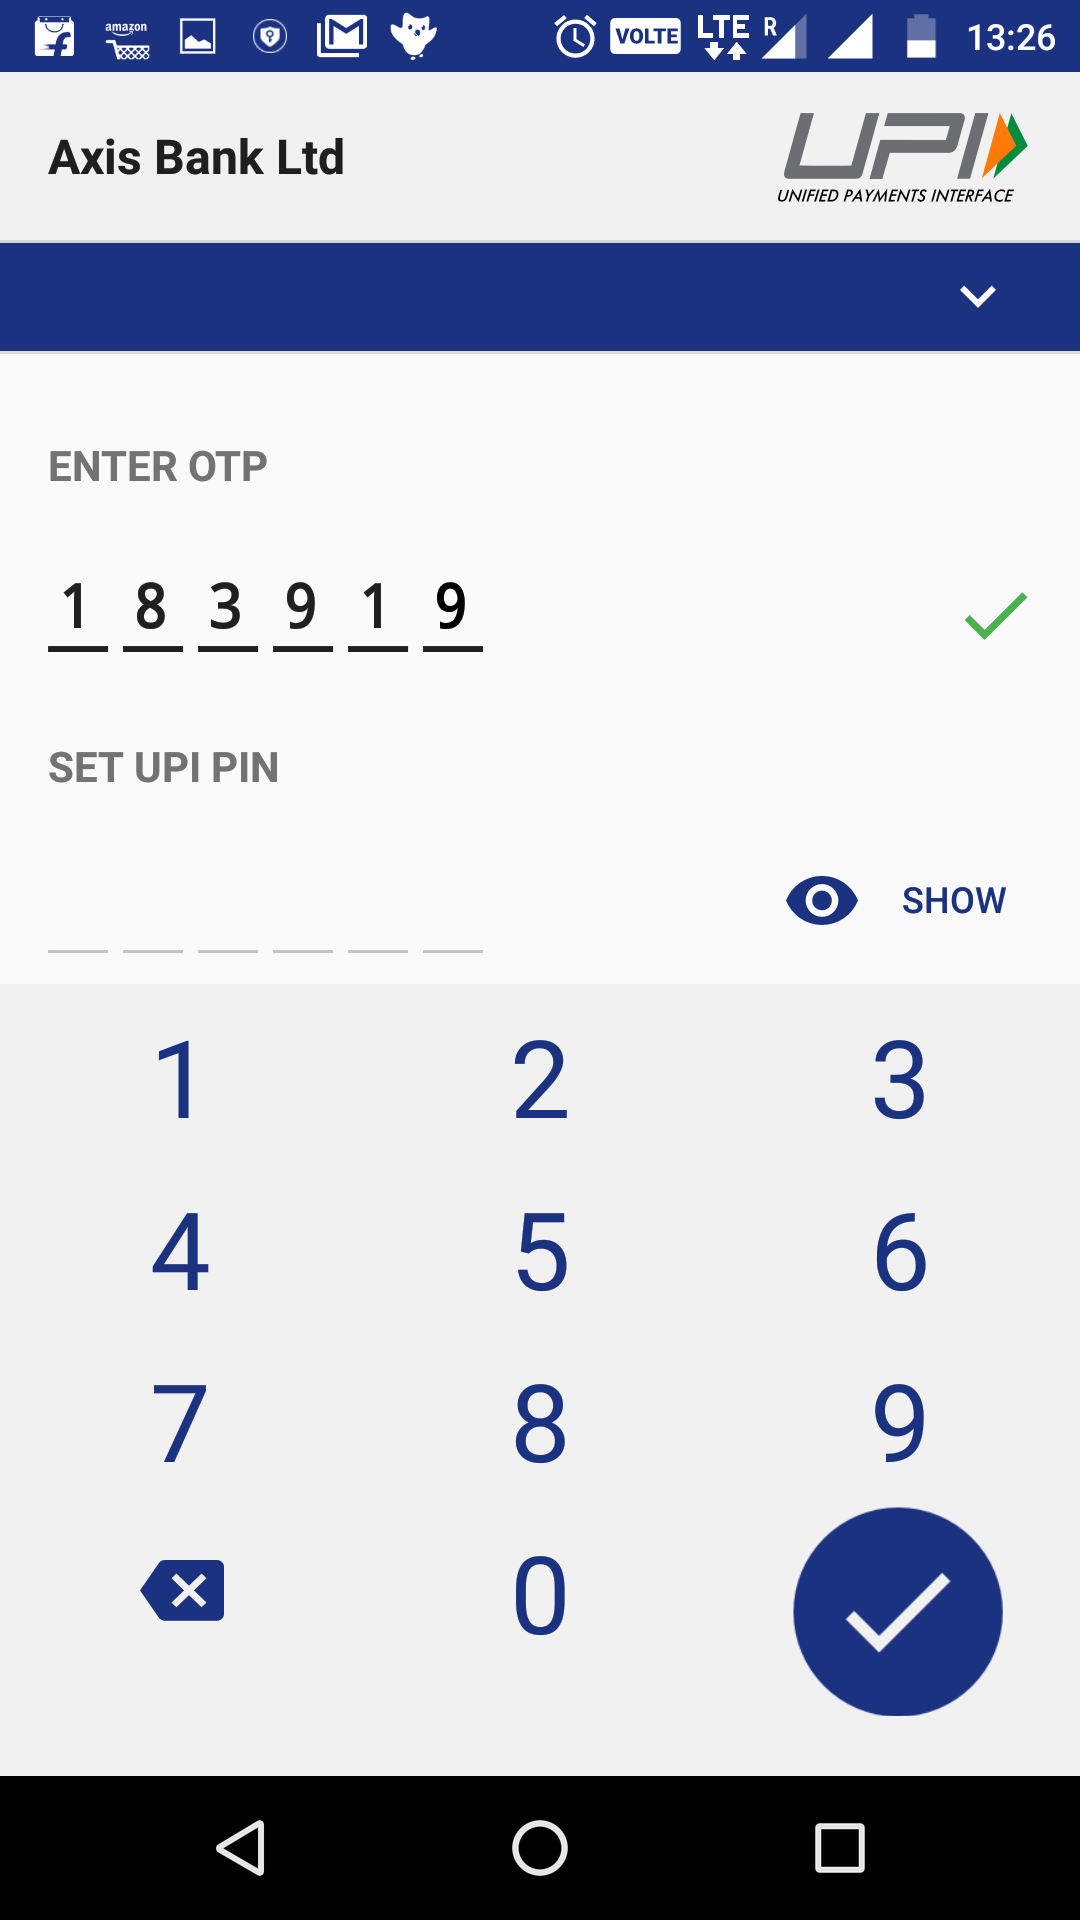
- Setup a 6 digit UPI pin using your debit cards details . You will use this pin for authorising any transaction you wish to carry out.


Using BHIM
Home Screen
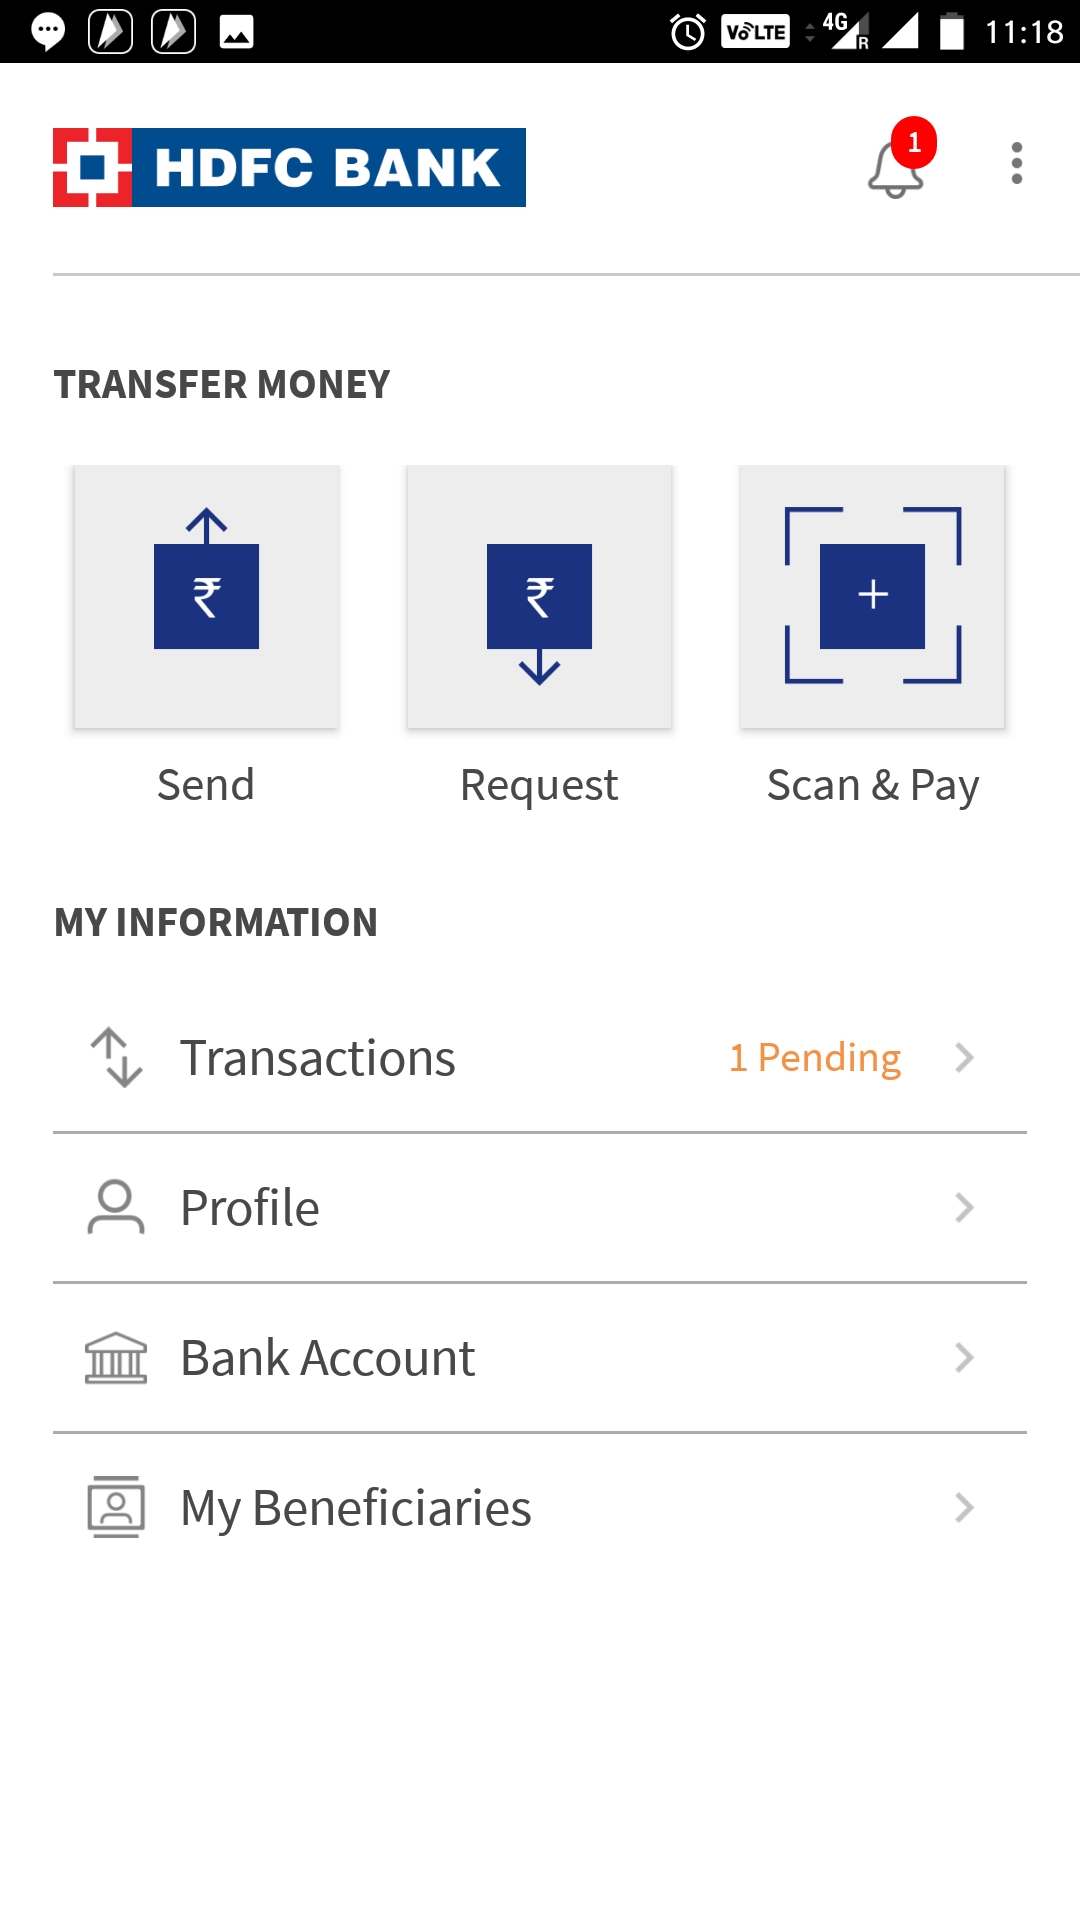
Once setup you can launch BHIM app. You should enter the 4 digit pin which you have set to login to the app. You will be presented with the screen as below.
 The various option available on the home screen are as follows:
Clicking the bell icon will display any notification like transfer status, money transfer requests etc.
Send button is used to transfer money to a beneficiary
Request button is used to send a money transfer request to a remitter.
Scan & Pay option is used to use the mobile camera to scan a QR code for payment.
Under the the My Information section:
Transactions list out all the successful and failed transactions and their details
Profile gives the details of your profile including your UPI ID
Bank Account list out the bank accounts linked to BHIM. It gives you option to set default account for UPI transactions.
My Beneficiaries list out the beneficiaries added by you. In case you have installed the app fresh, you will have to add beneficiary using this section.
Adding Beneficiary
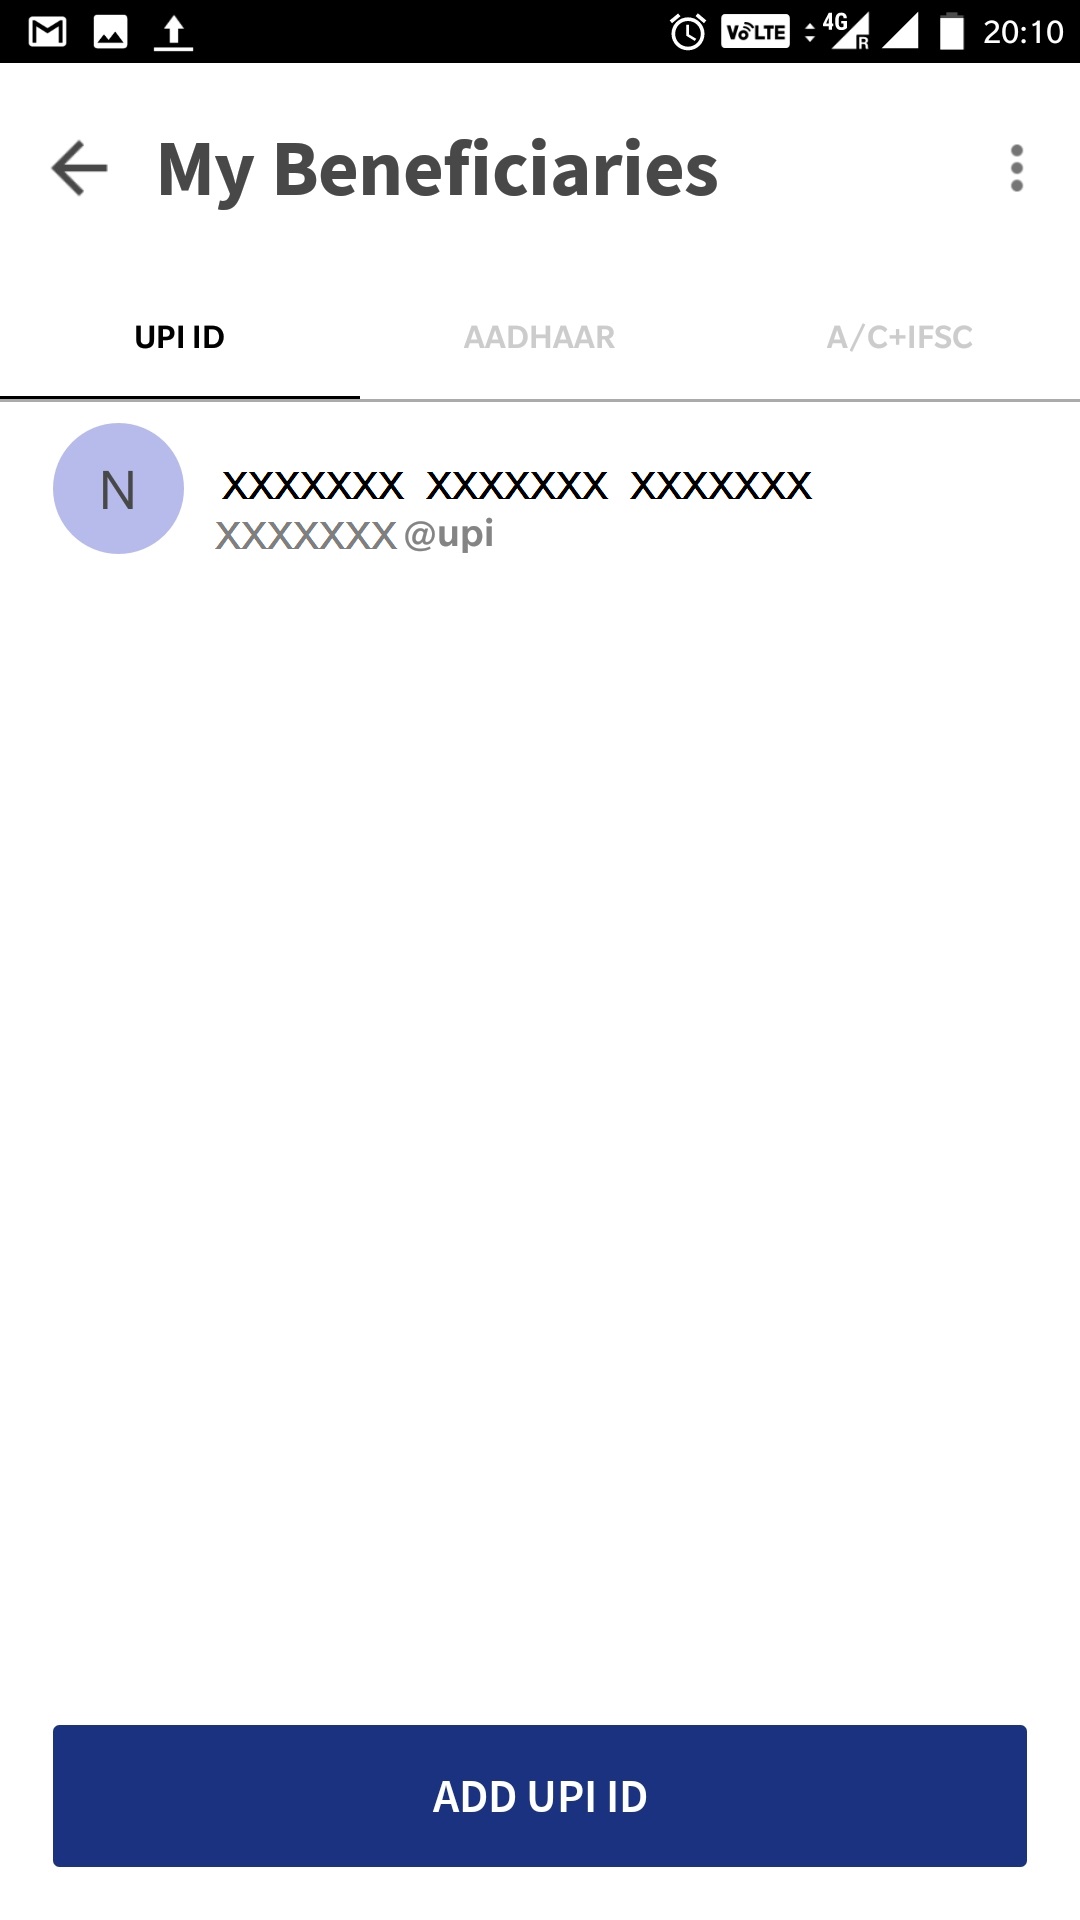
To add a beneficiary, click on My beneficiaries. If you have not yet setup beneficiary address, the page will be blank with an option to Add UPI ID.
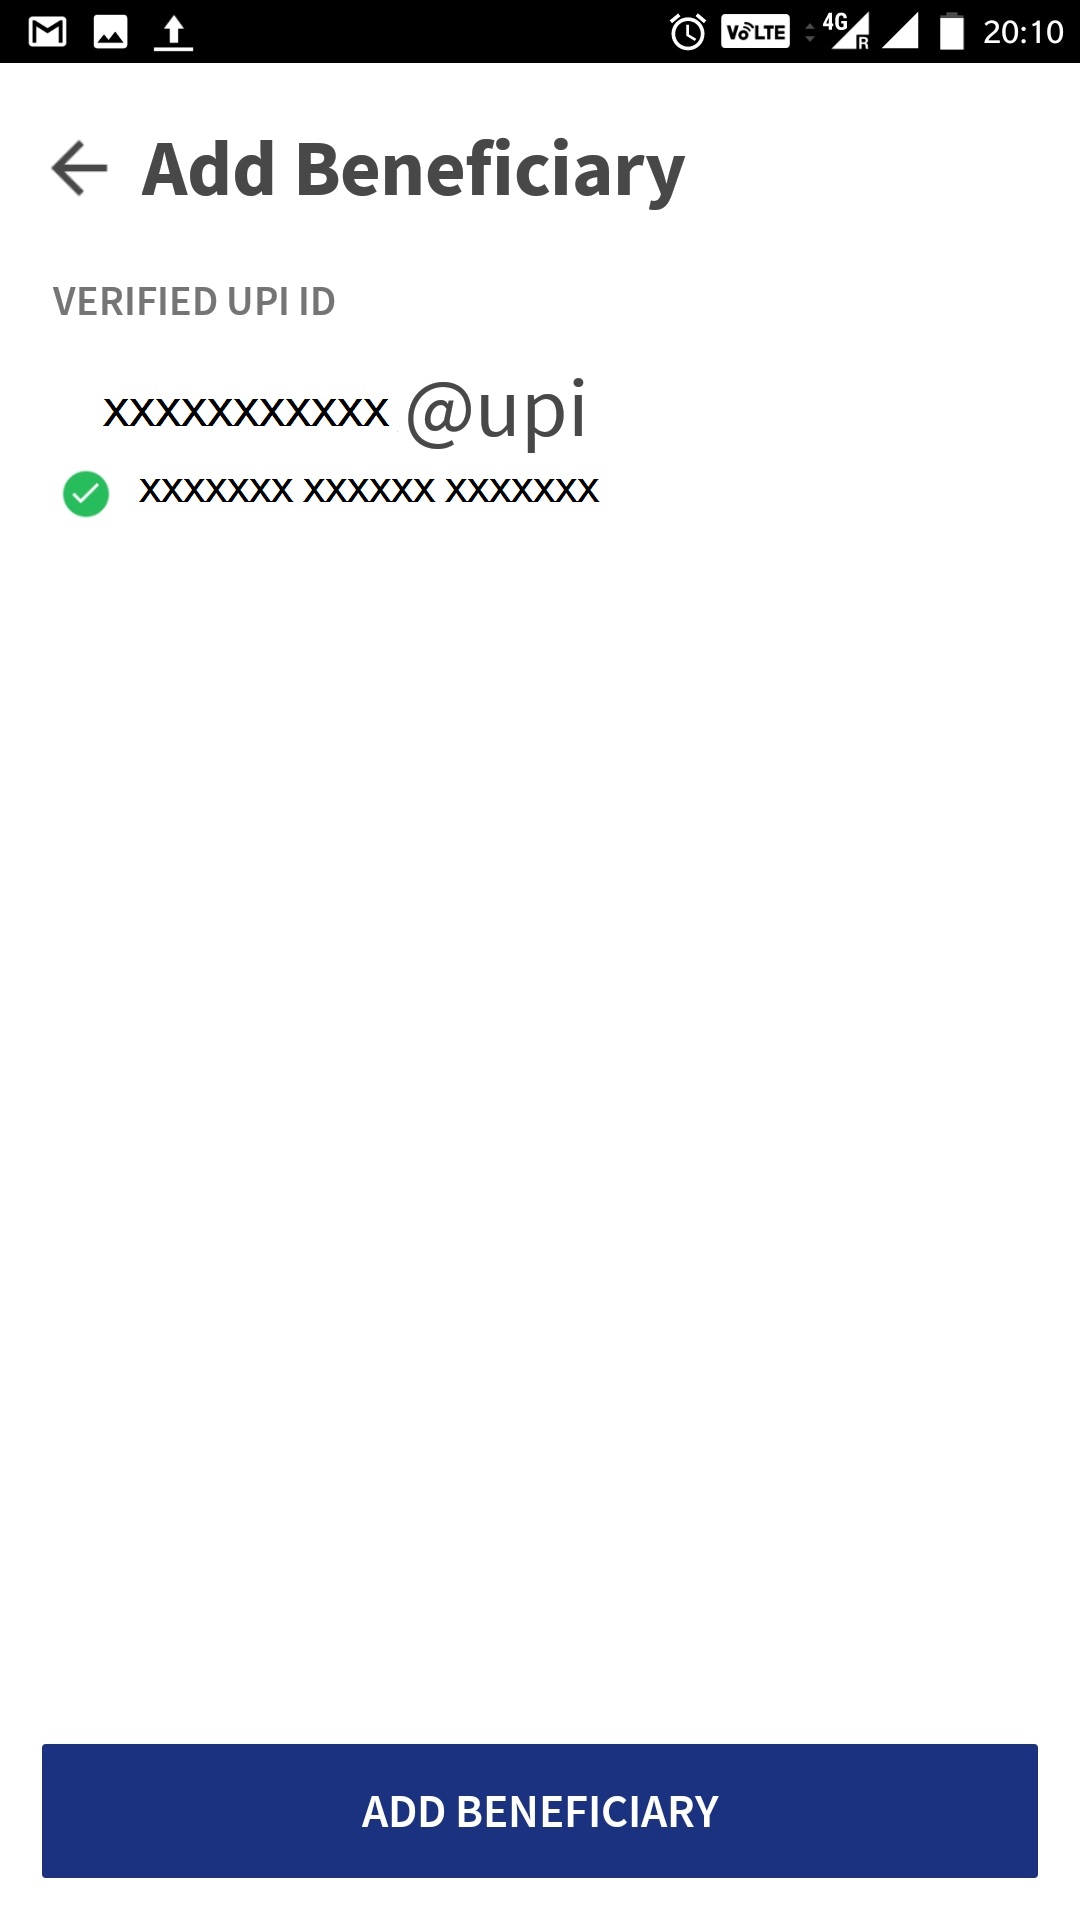
- Click on it and on the next screen, enter the UPI Id provided by the beneficiary. It could be in the format XXXXXXX@UPI or XXXXXXXX@hdfcbank etc. The XXXXXXX stand for the combination of alpha numeric id.
- Click on Verify.
- The app will verify the UPI ID and provide more details of the payee if the verification succeeds.
- If the details are correct, click on Add Beneficiary.
- The My Beneficiaries screen will list the newly added beneficiary.
Click through the slide show below for graphical representation.


Sending Money
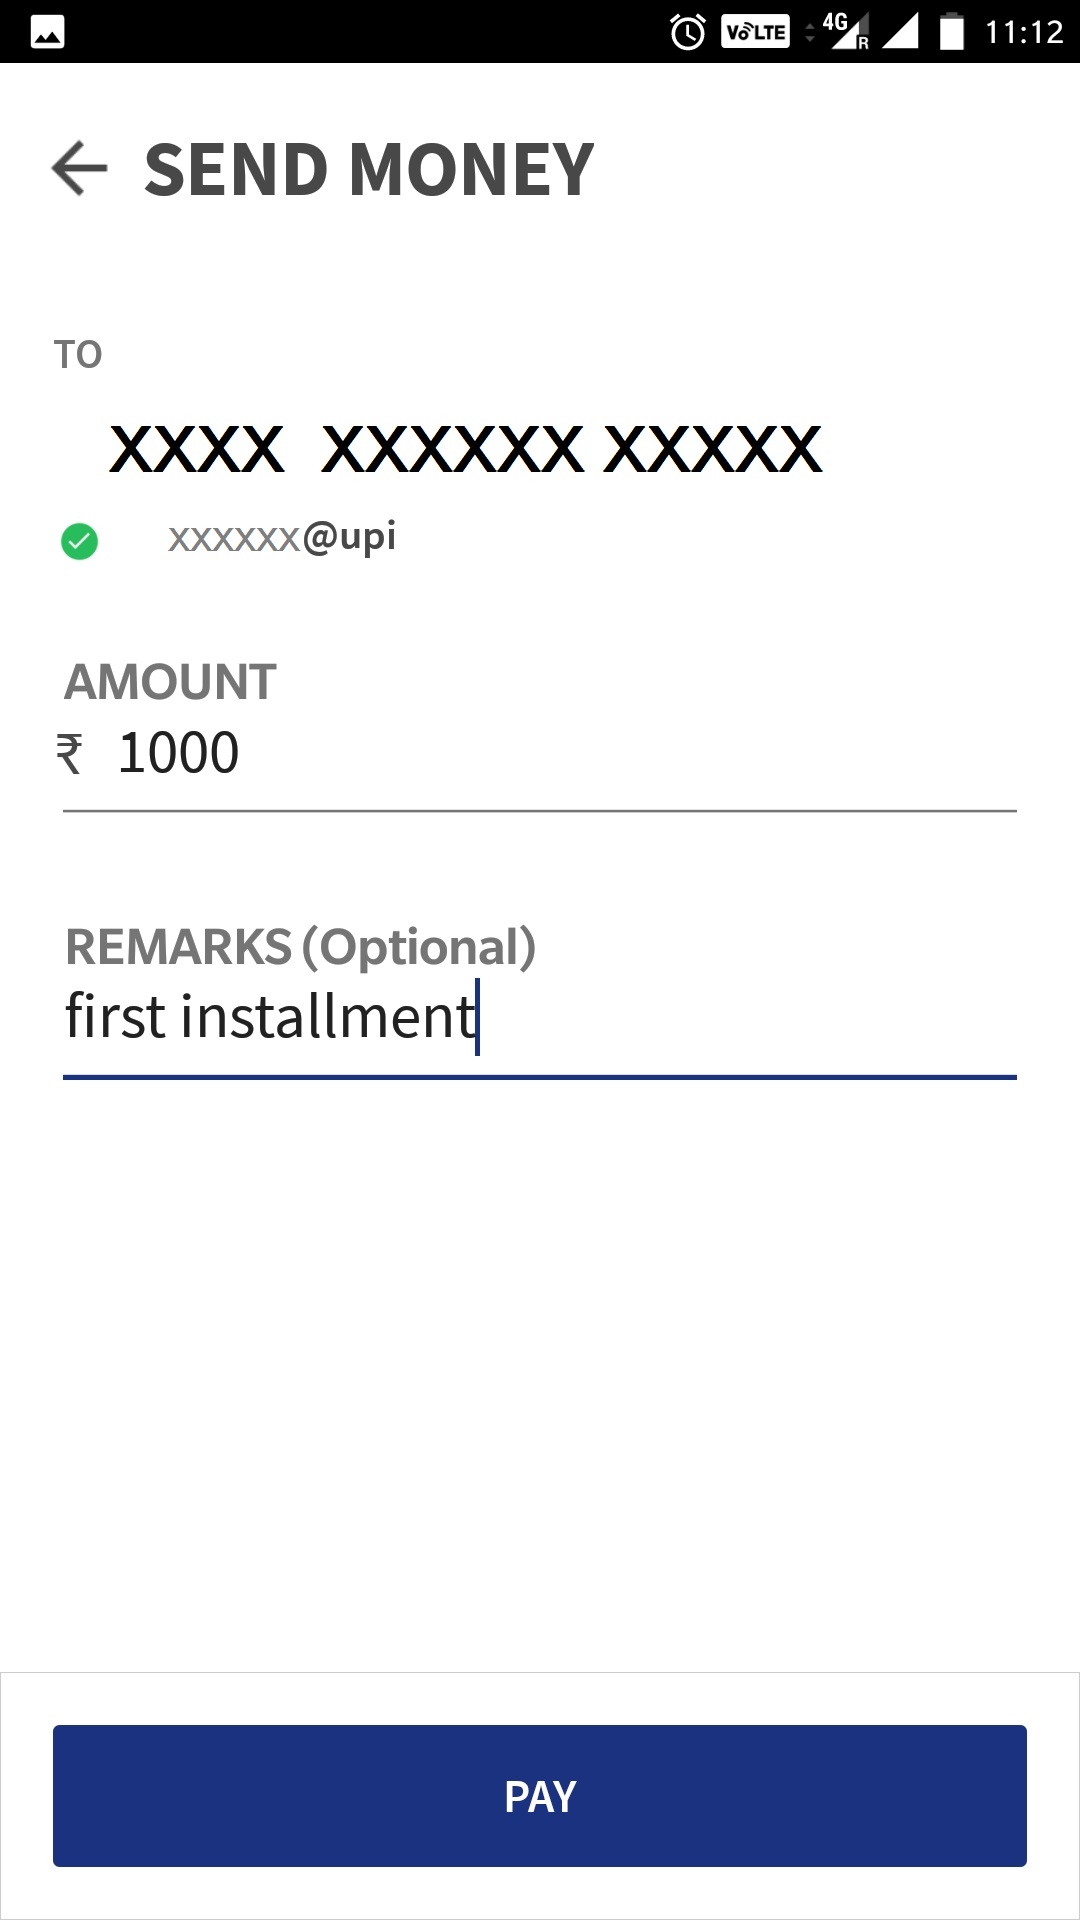
To send money to a beneficiary, click on Send button in the home screen.
- Select the beneficiary to whom you want to send money.
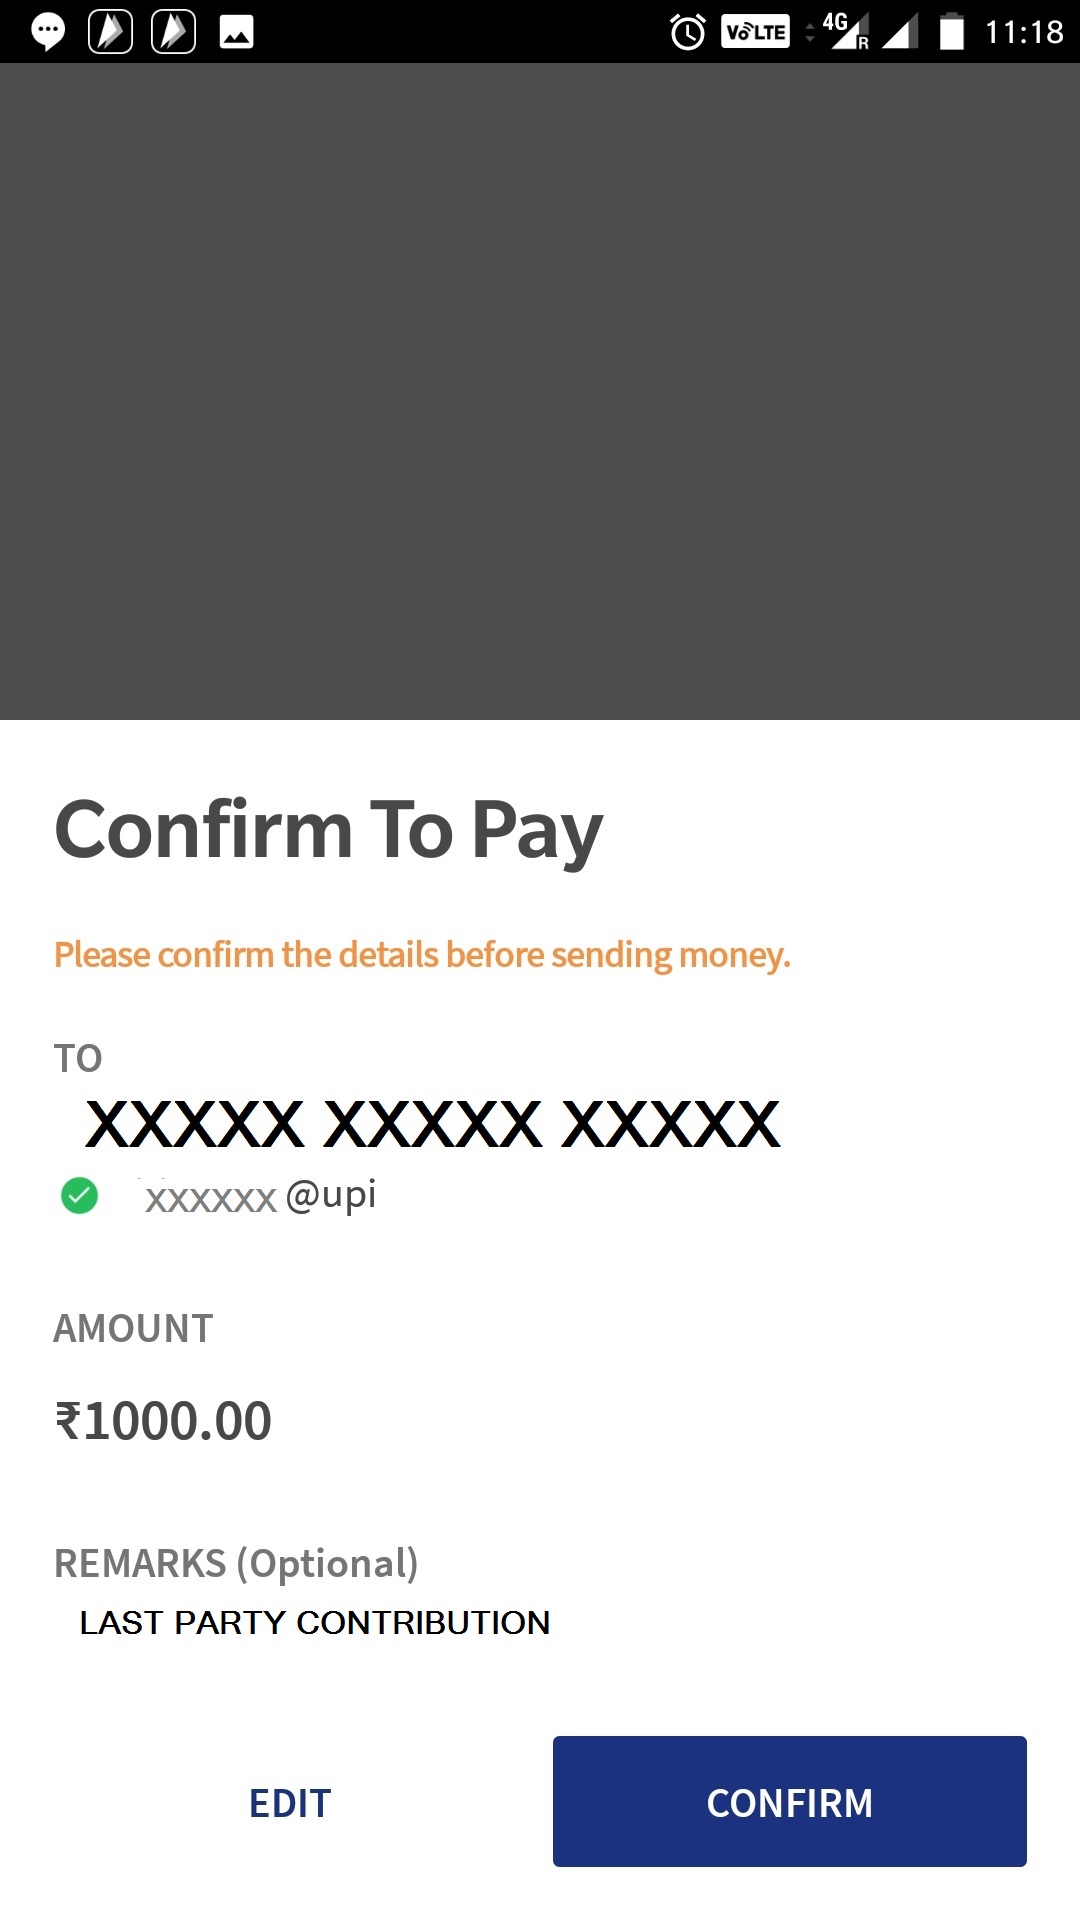
- Enter the amount and remarks(if any)
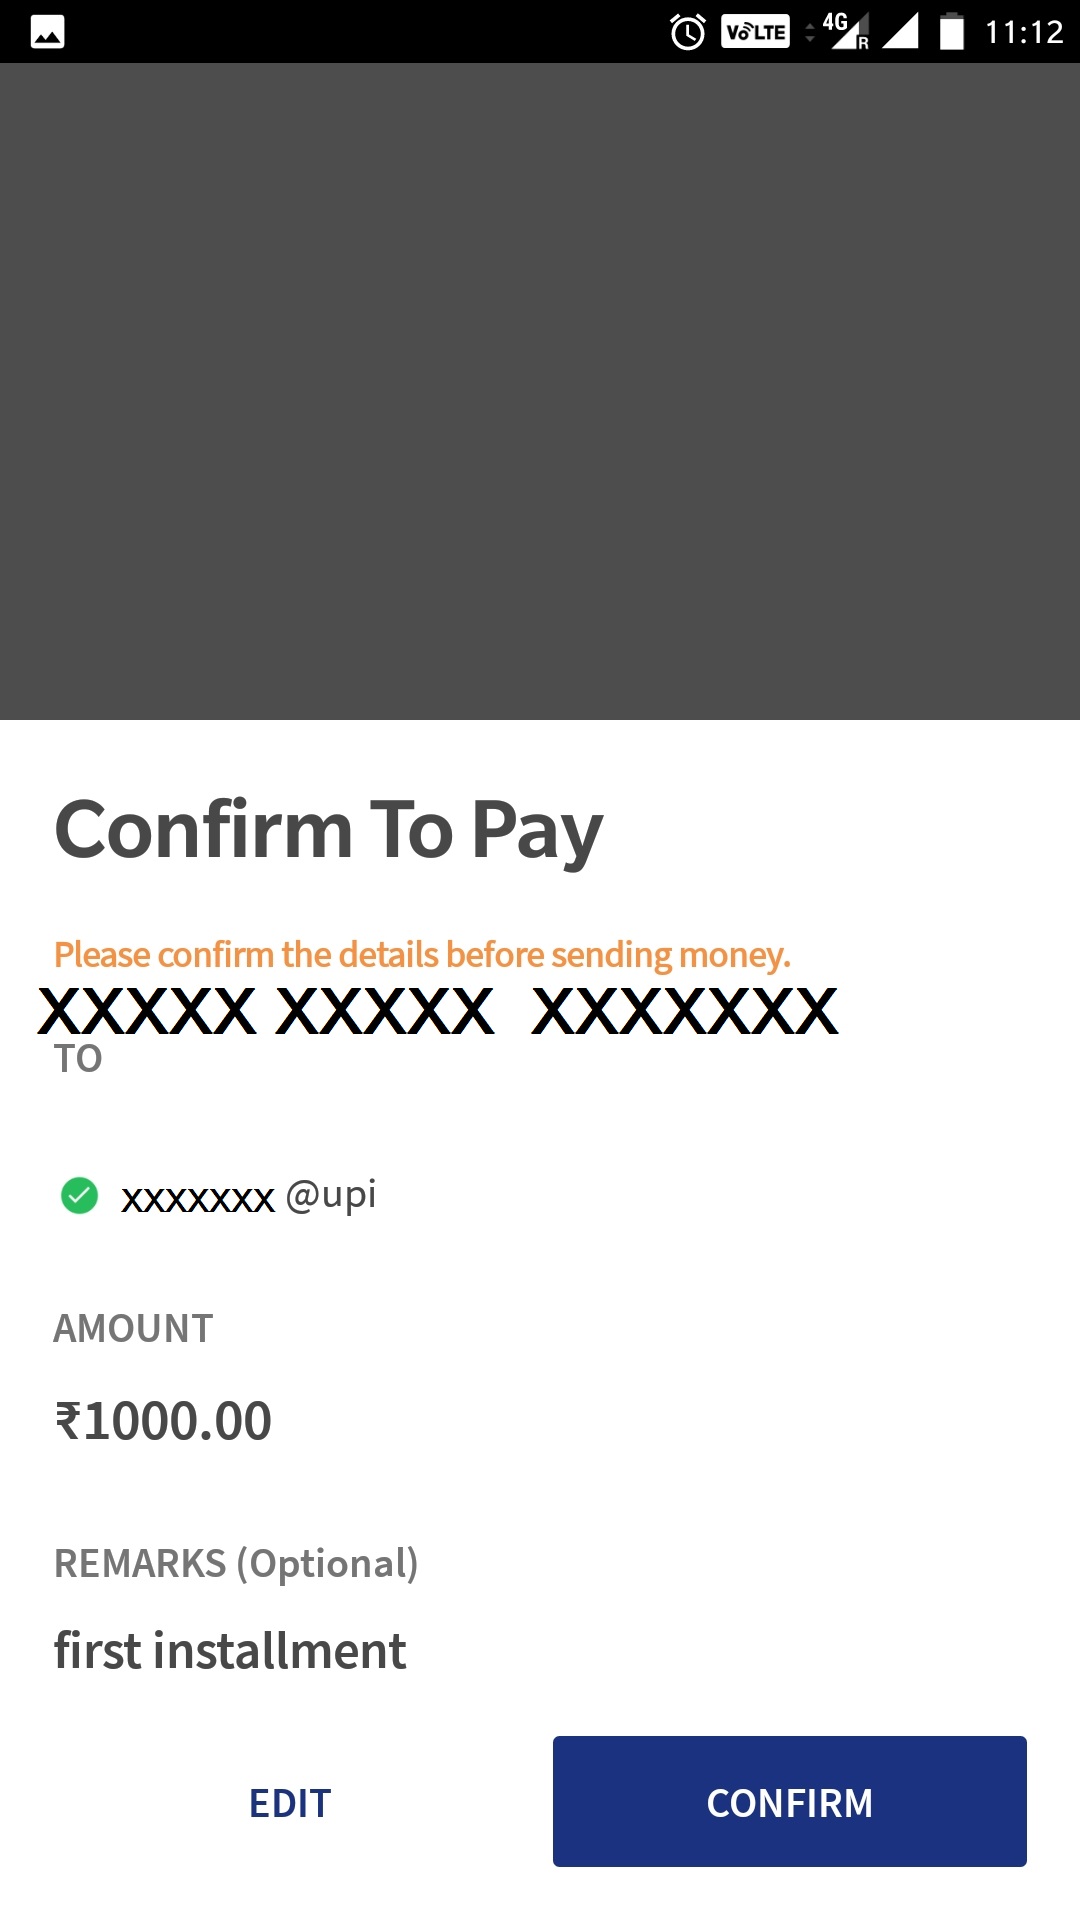
- Click on Confirm in the confirm to pay screen.
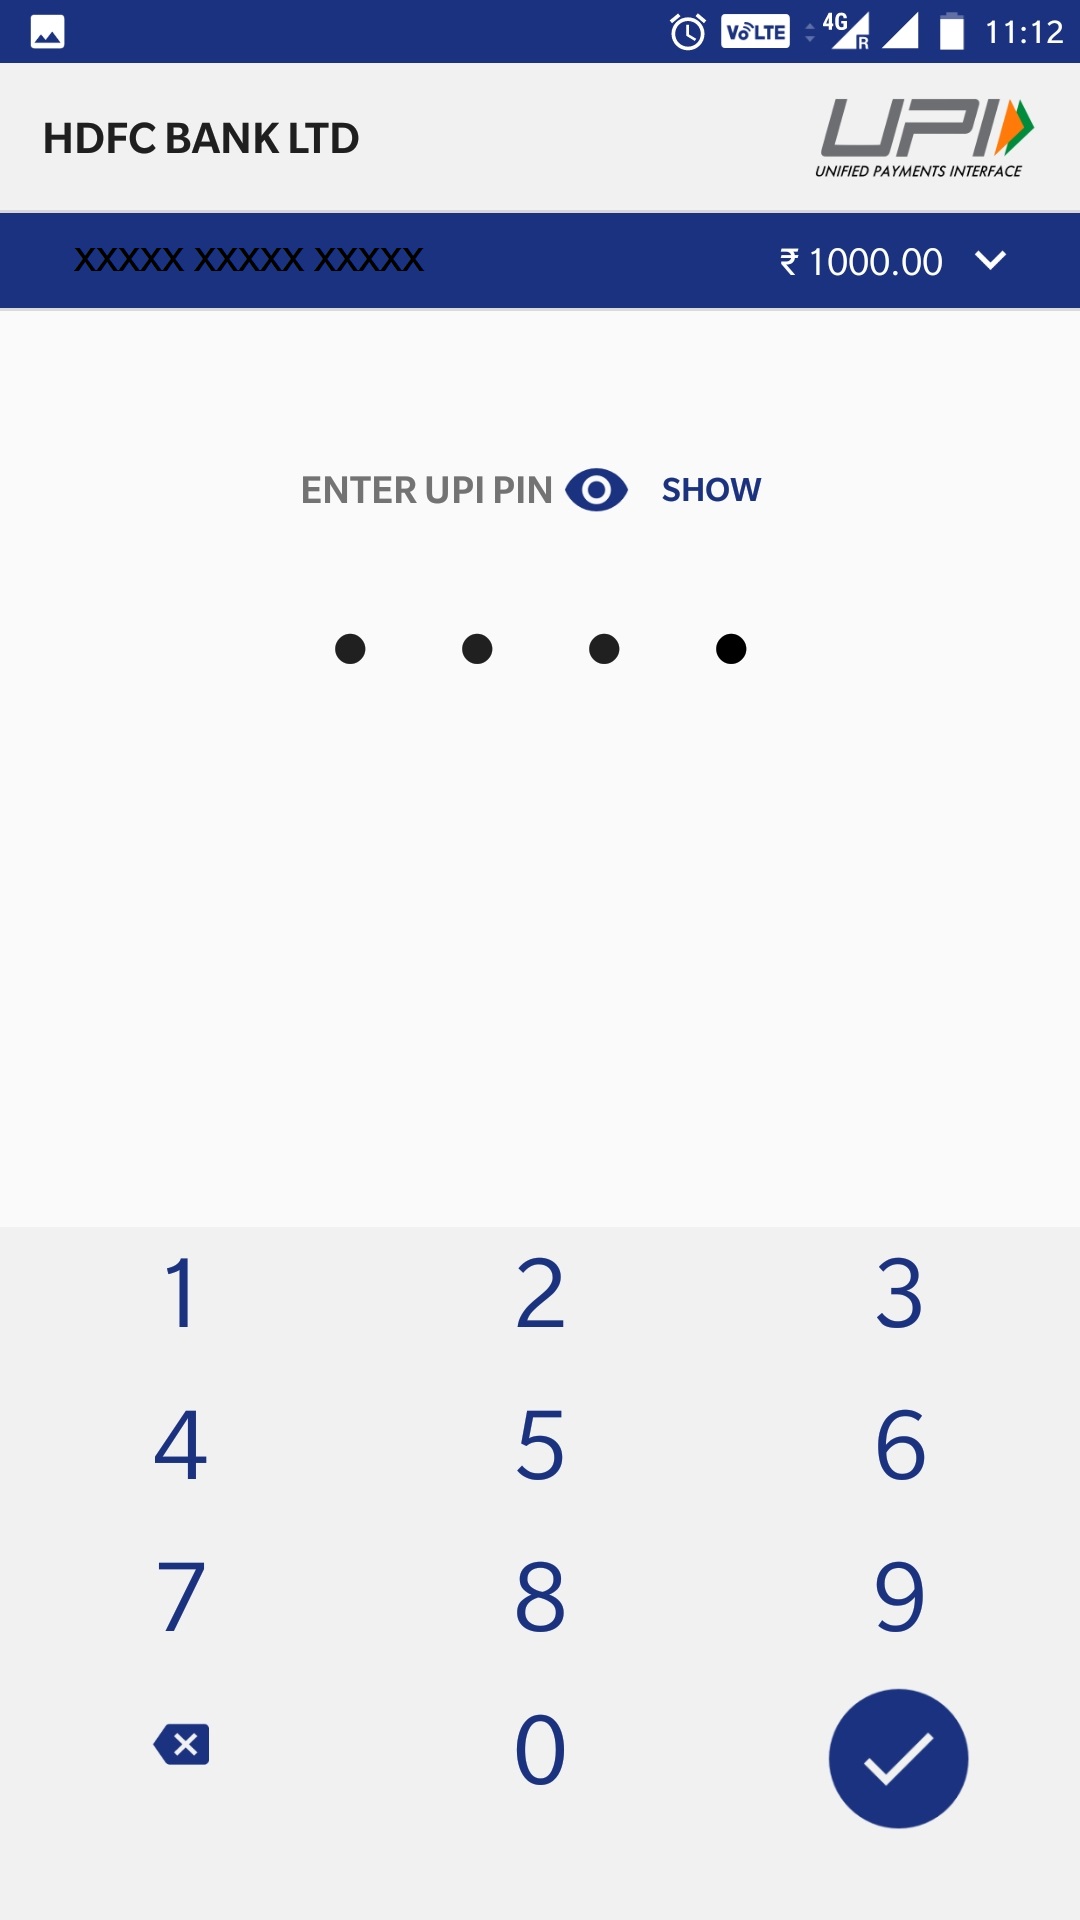
- Enter you 6 digit UPI PIN for the transaction.
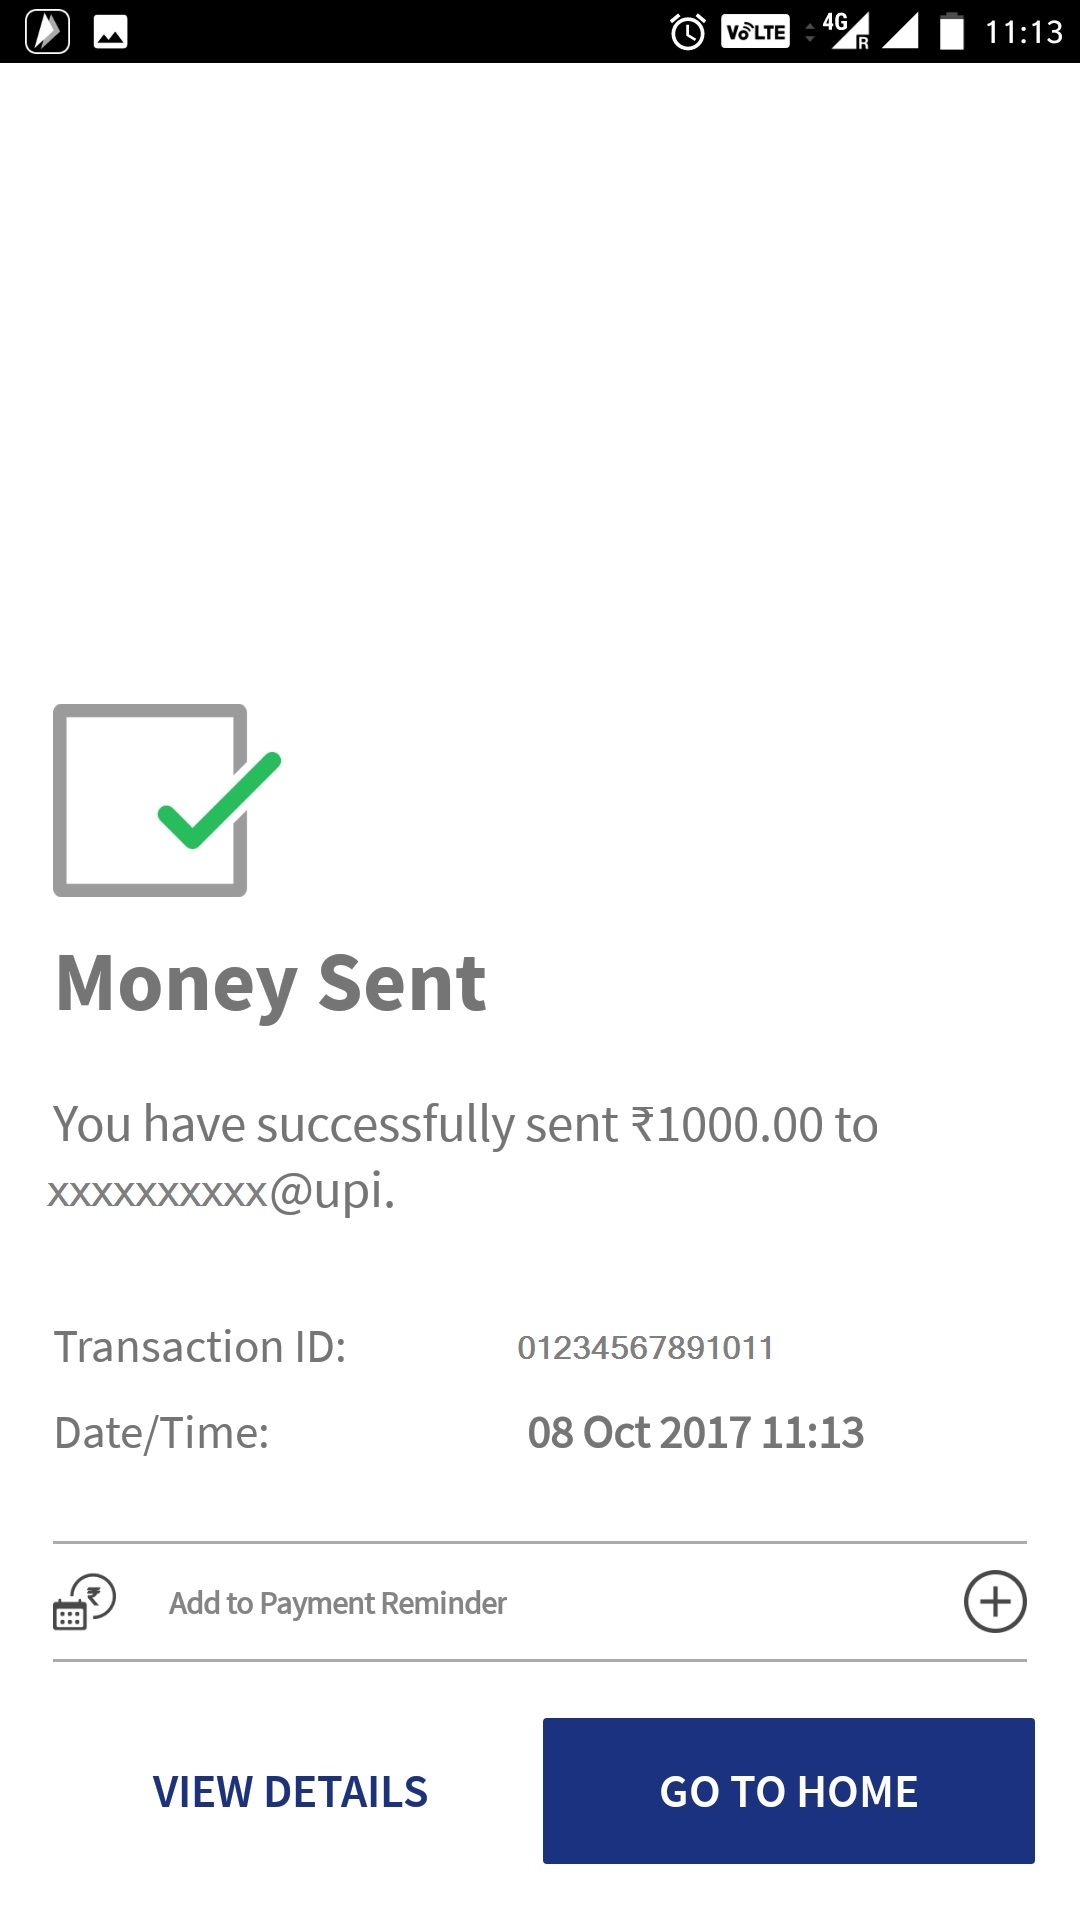
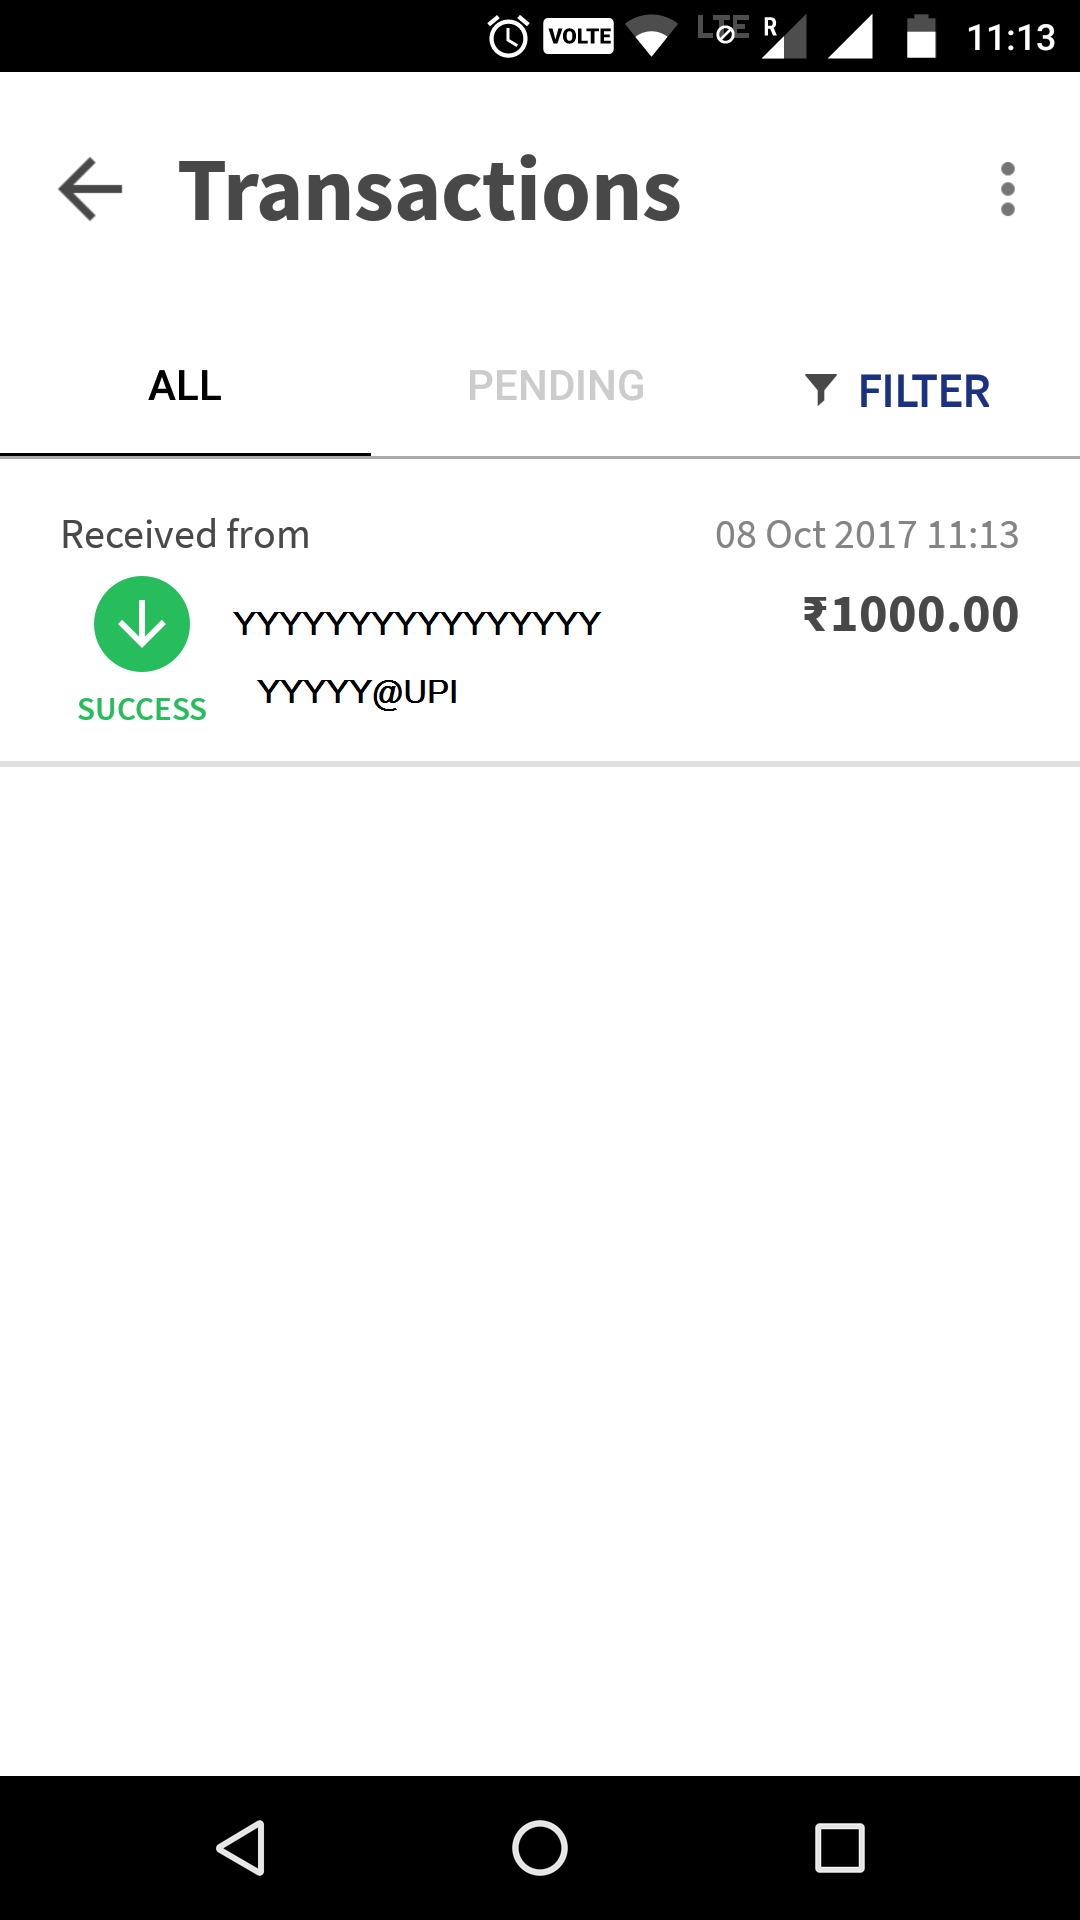
- The last two slides show a successful transaction and the view of the beneficiary Transactions screen.


Requesting Money Transfer
Your friend owes you some money but you find it embarrassing to ask him. Well no need to ask anymore. Just send a request with remarks and he will get the hint.
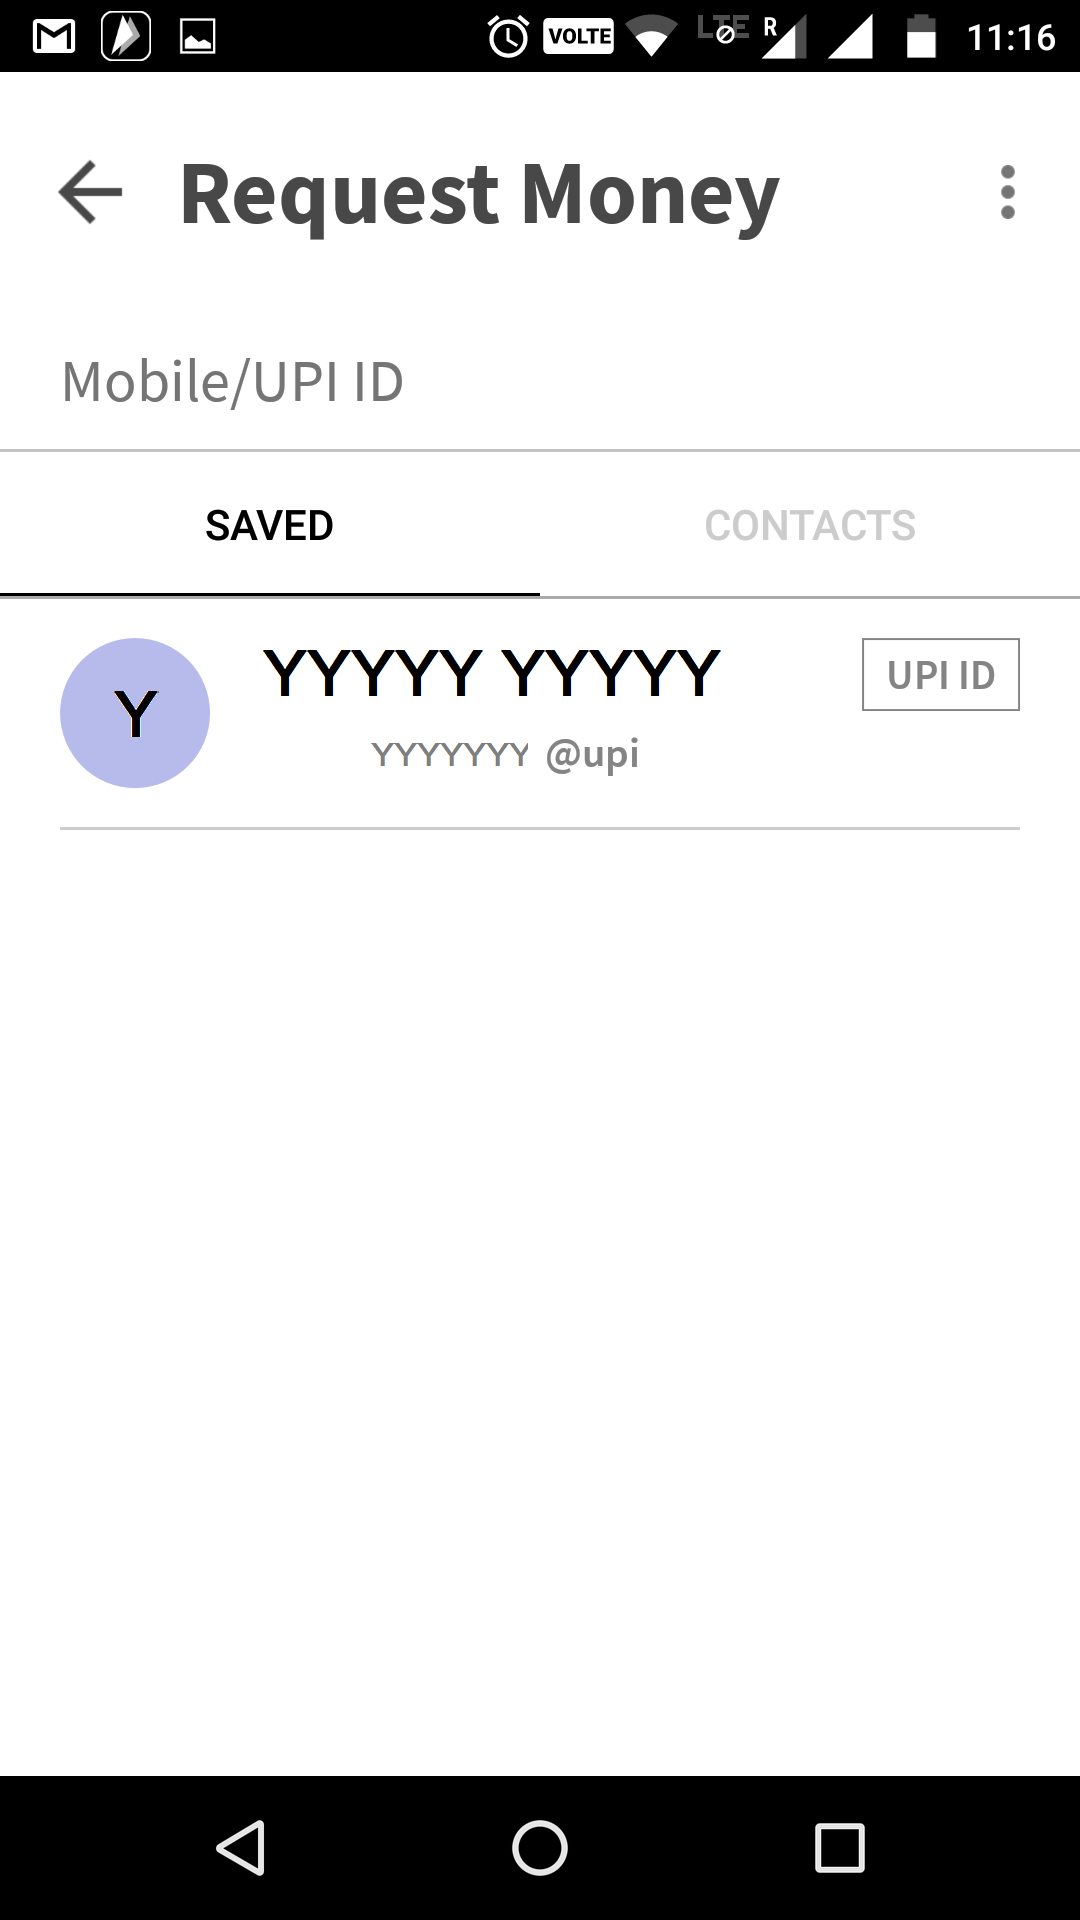
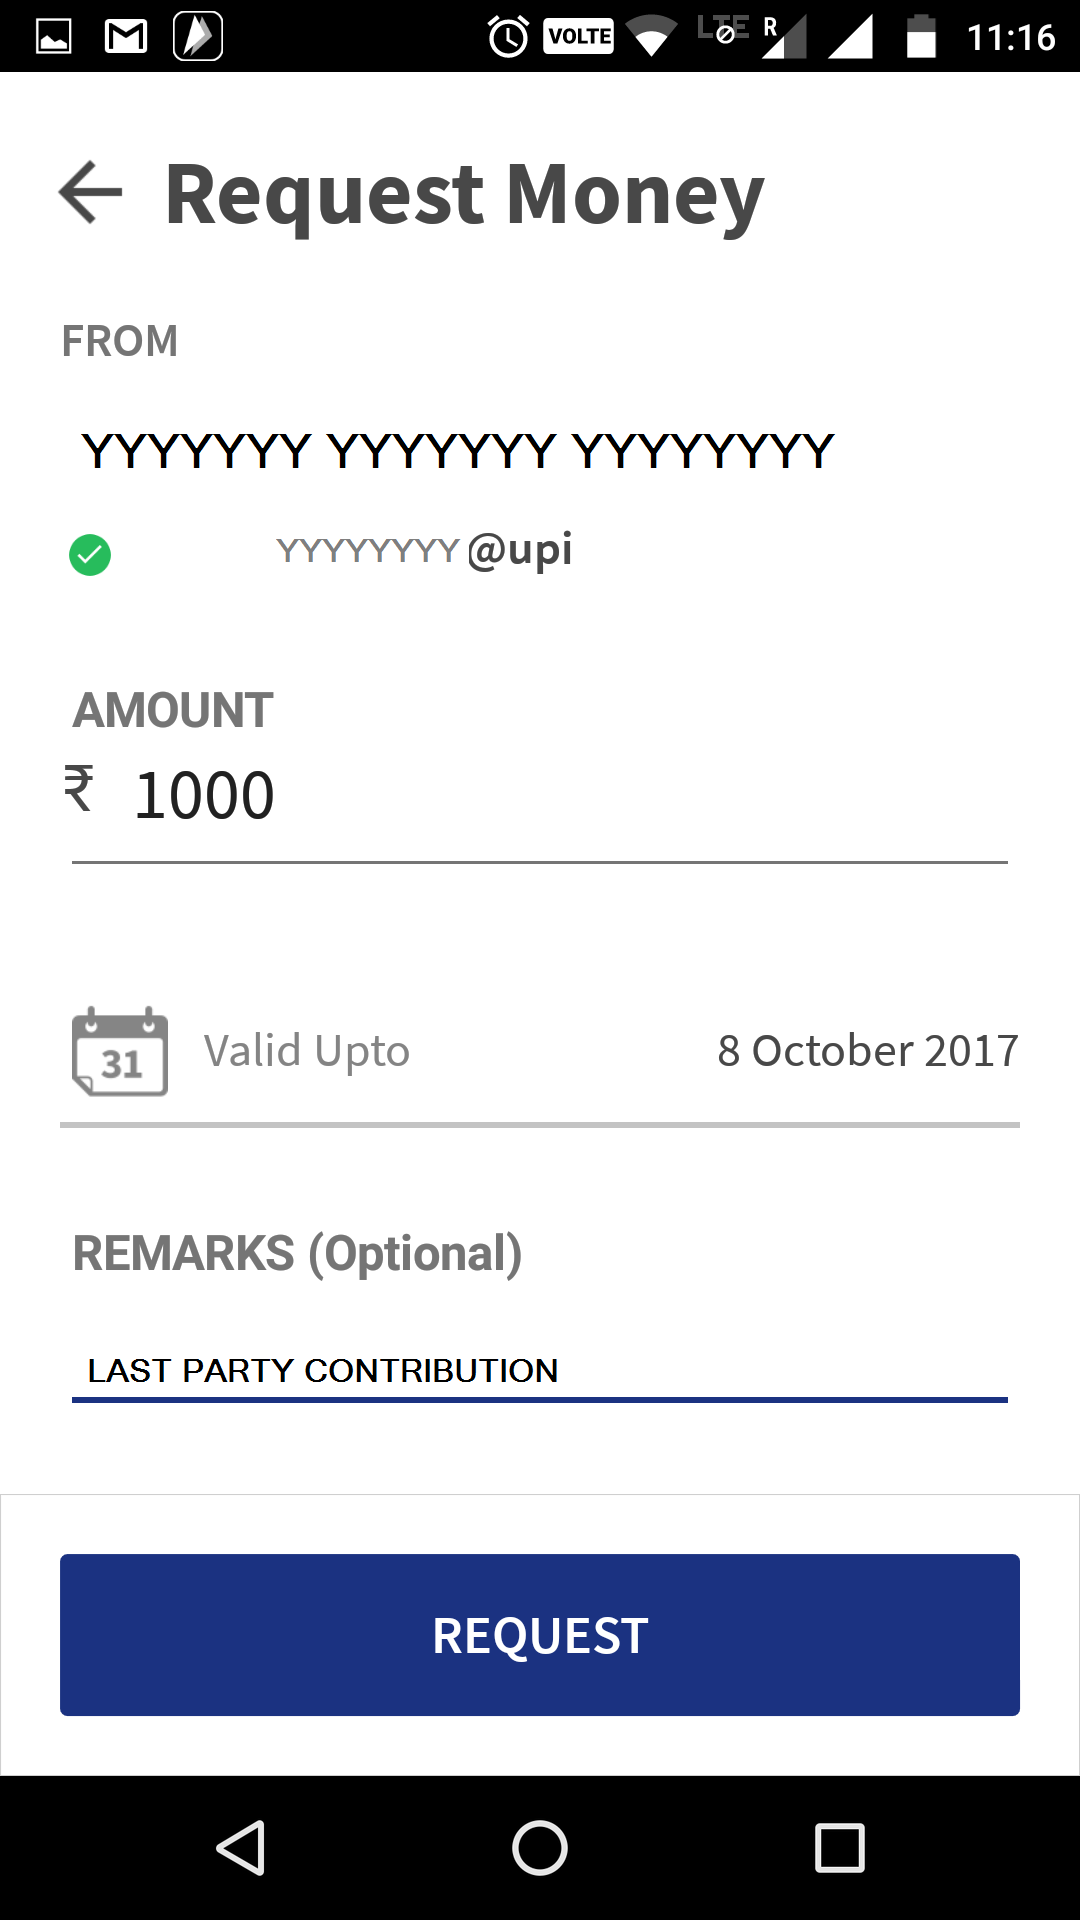
To request money, click on Request button on the home screen.
- Select the UPI ID from whom you want to request money transfer.
- Enter the amount and any remarks in the next page.
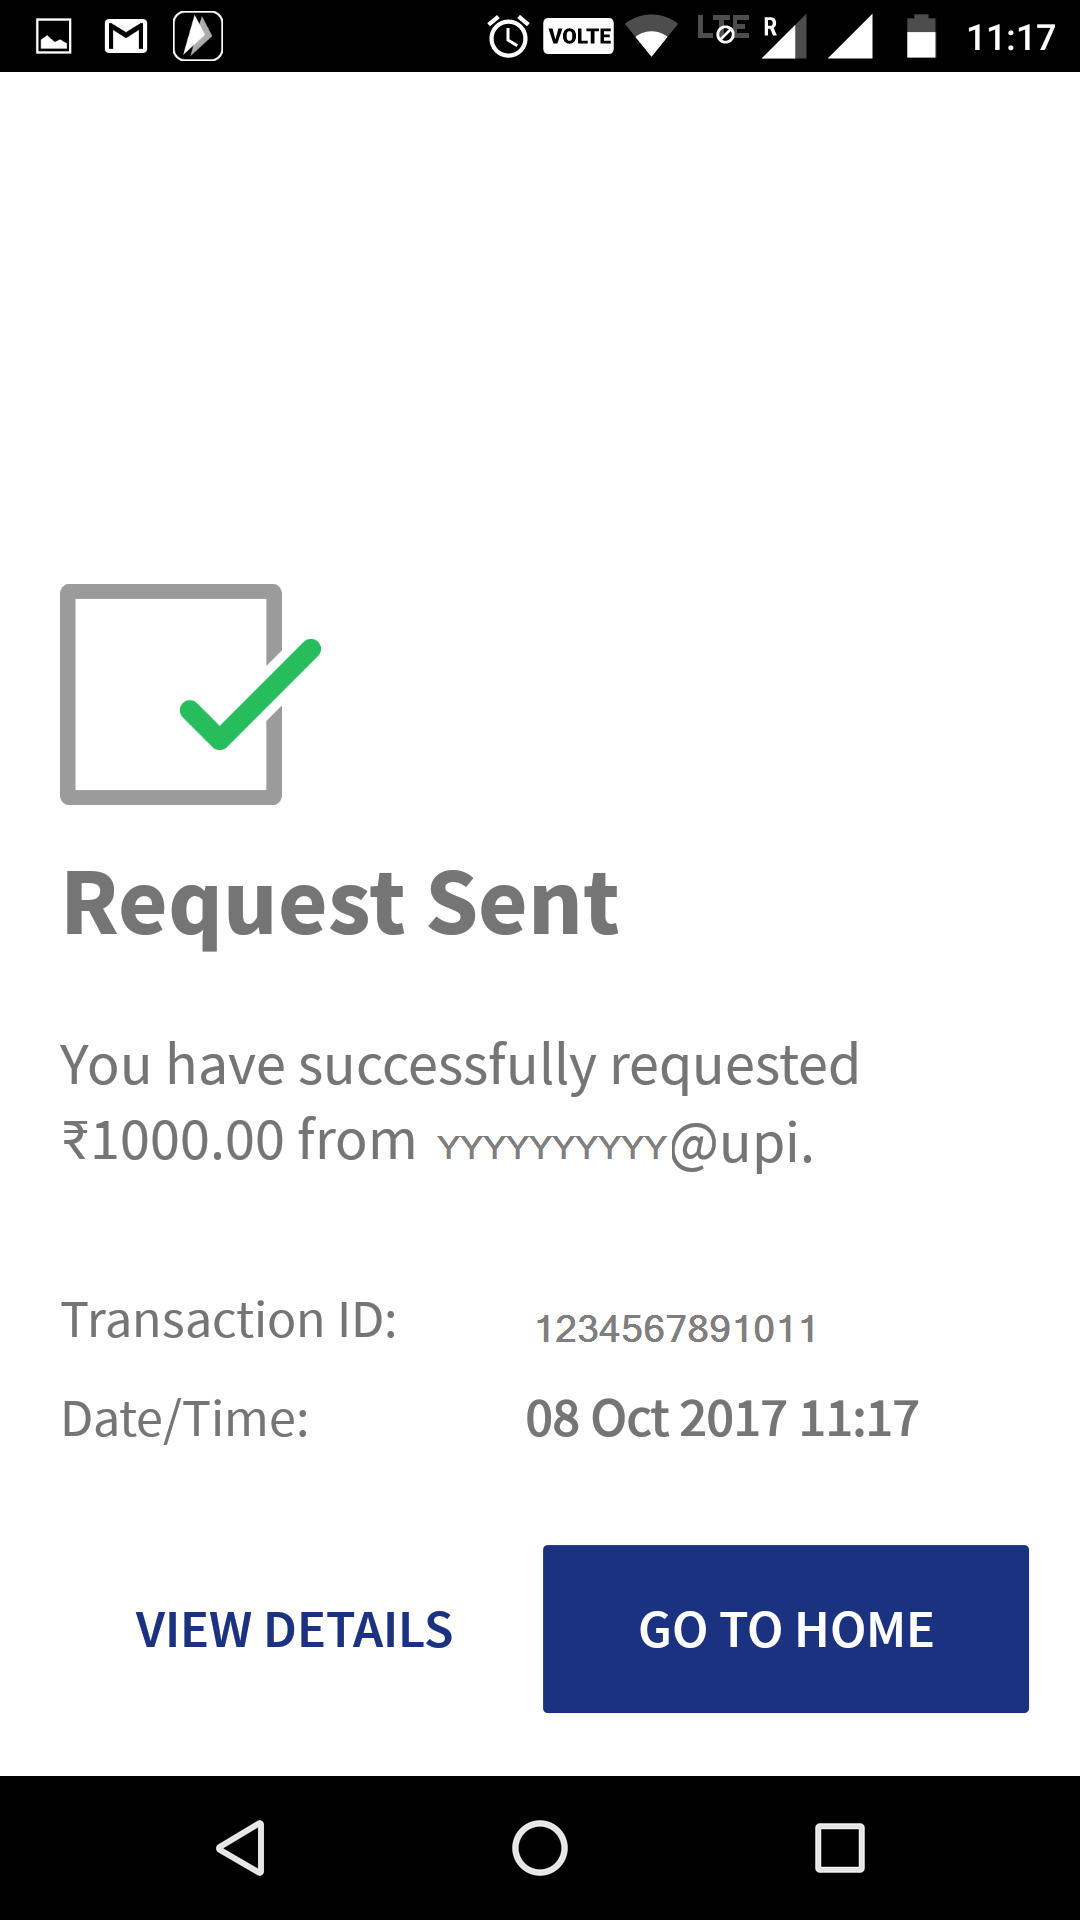
- Click on Request.
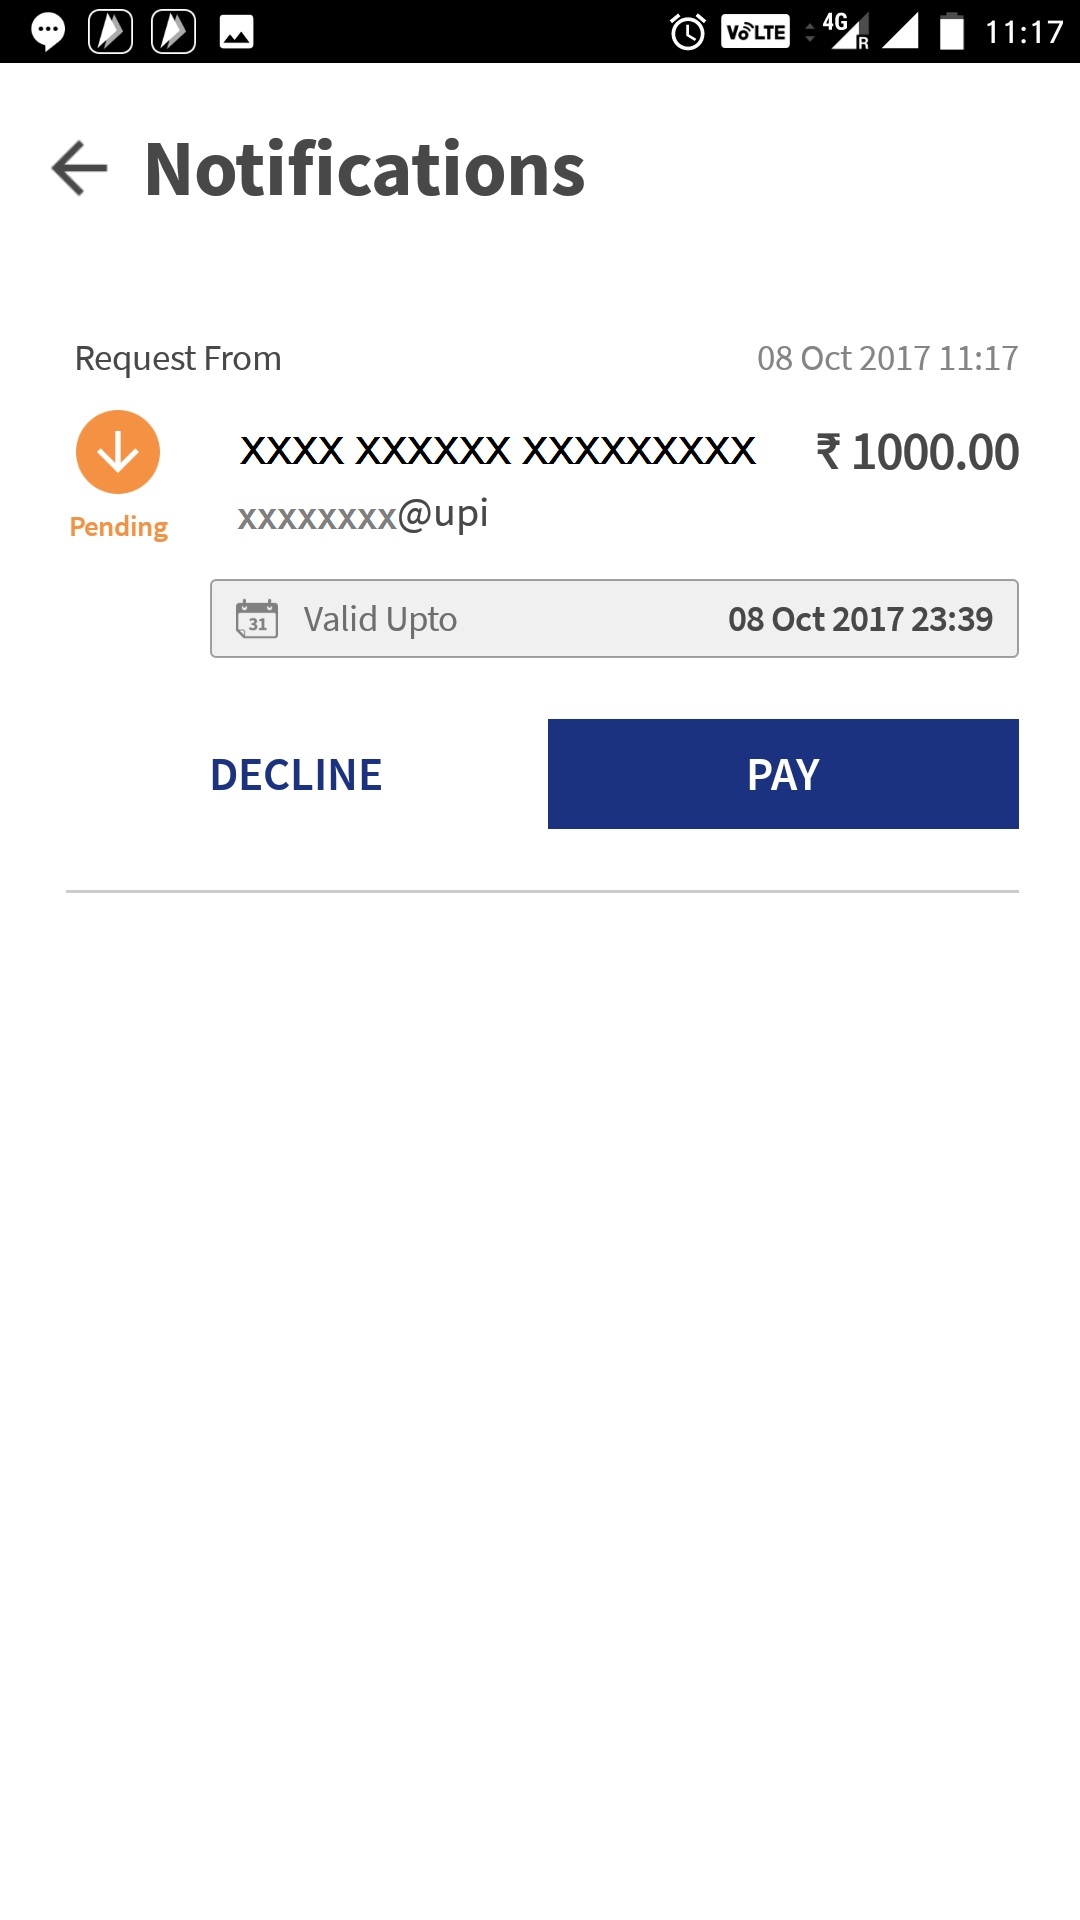
- The other party will get a notification in the BHIM app.
- He/She can then decide to approve the request or deny it.
- If the other party approves, the money will be transferred to your account and you will get a notification. The transfer will be visible in your as will as the other party’s transaction list.


Scan & Pay
 This is a novel method of making payments. You must have seen that a lot of merchants have a sticker near their point of sale counter with a square containing a graphical code. It is called as QR code or a Quick Response Code. BHIM app also gives the facility to pay by scanning a QR code. This QR code contains UPI ID and other details, including the amount to be transferred in many cases. You can download your own QR code which will be visible in the Profile section.
When you want to make a payment, you will need a code from the beneficiary. The procedure to scan and pay is same as the Send option. The only difference is that instead of selecting the beneficiary from the My Beneficiaries option, you should select the Scan & Pay option. You will have to provide the camera access to BHIM app when prompted. The camera window will open up in BHIM and you can hold it about 5-10 cm from the QR Code provided by the merchant.
The beneficiary may also choose to send you the QR code via email or any other electronic format. You can use the option Pick from Gallery in this case. The app will read the QR Code and fill the beneficiary details accordingly. You will need to follow the same procedure as sending money as detailed earlier.
Note that all the transfers are done from and into your Primary account. You have an option to change primary bank account in the Bank Account list.
Going Digital
With the advent of digital age and better internet penetration, people are using BHIM app more widely and soon you should find its application at many more locations.
In case of queries, do contact me. You can also contact the official twitter handle of UPI and BHIM and they will be more than happy to help you out. The twitter handles are @UPI_NPCI and @NPCI_BHIM.
2 comments for “How to use BHIM UPI APP”